

subscribe to our Newsletter
8 Shiplap Bathroom Wall Ideas & Designs- Tips and Tricks


Incorporating a shiplap bathroom accent wall into a home has taken the design scene by storm in the past five years. Adding shiplap creates the classic rustic look that is well-loved by designers and home DIYers alike. And the best part? Adding shiplap is affordable and easy to install!
Cover photo via Houzz
Aside from low cost and simple installation, a shiplap bathroom accent wall has become a popular decor element due to its bright, revitalizing look that is sure to be the focal point of any bathroom. While white shiplap is the most common, you may also opt to paint the bathroom shiplap wall a different hue to fit your style.
If you're searching for shiplap bathroom wall ideas, we’re sharing 8 beautiful ideas to inspire your bathroom shiplap wall treatment.
But before we dive in, let's talk about the details of shiplap.
What are Shiplaps for Bathrooms?
Originally, shiplap (wooden board) was used as an exterior siding for construction purposes. It was typically used on outdoor buildings, sheds, and barns.
With shiplap wood, you can join two flat pieces firmly to make one flat surface, leaving a recessed channel between the boards. This tongue and groove method quickly becomes a focal point of any space giving your wall a beautiful beachy theme and rustic appearance. However, the ultimate result depends on the type of shiplap installation (half or full), the board type, and the colors used.
As a result of the striking look it offers, adding either horizontal or vertical shiplap has become a popular bathroom decor element nationwide. Although you can use shiplap accent wall ideas in any room, it is most common in kitchens and bathrooms.
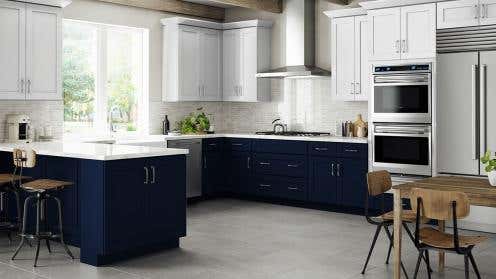
For example, this beautiful bathroom features a wood shiplap wall complemented by modern cabinetry, a hinged shower door, and gray countertops.

Photo: Houzz
Alternatively, if you want to install shiplap in your bathroom but don't want it to cover the entire wall, you can use it to create an accent wall. With this, you can add some drama and visual energy to your bathroom without committing 100% of your wall space.
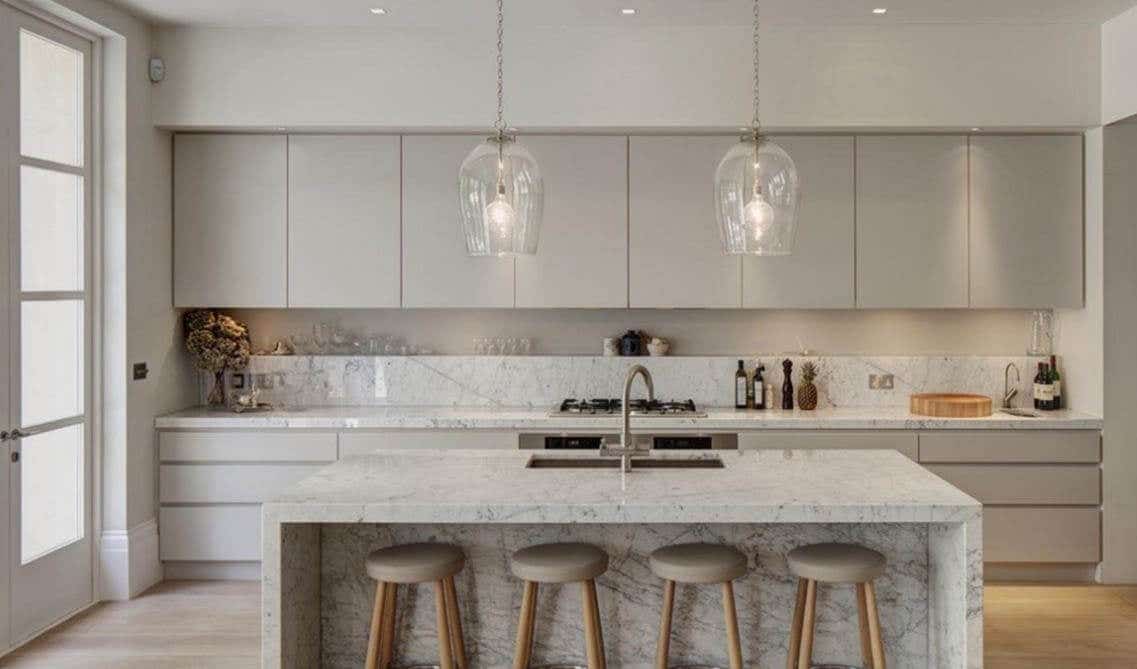
1. Full Wall Shiplap Bathroom
Photo: Houzz
Covering your entire bathroom wall with a shiplap will help transform your bathroom completely and give it a brand new look. This option is most popular in rustic and farmhouse bathroom designs.
With a full installation, you will feel like you’re walking into a beach home or cozy cabin any time you step into your bathroom.
This bathroom gives off a charming country vibe with recessed-panel cabinets, white countertops, and shiplap boards on the walls. The wide shiplap bathroom wall design makes the space appear bright and expansive, complemented by the perfect mix of natural and artificial lighting.
Looking for bathroom cabinetry? Browse our selection for up to 50% off box store pricing!
2. Half Wall Shiplap Bathroom

Photo: Houzz
Want to install shiplap in your bathroom with an easy shiplap makeover? You can do so without covering the entire wall (and your bathroom will still look brand new)!
If you're on a budget or lack space, you can use shiplap as an accent wall. Simply choose the wall that you want to highlight and measure the space for installation. When choosing the right wall, make sure the area you pick won't get too wet. You want to ensure that your shiplap will last as long as possible!
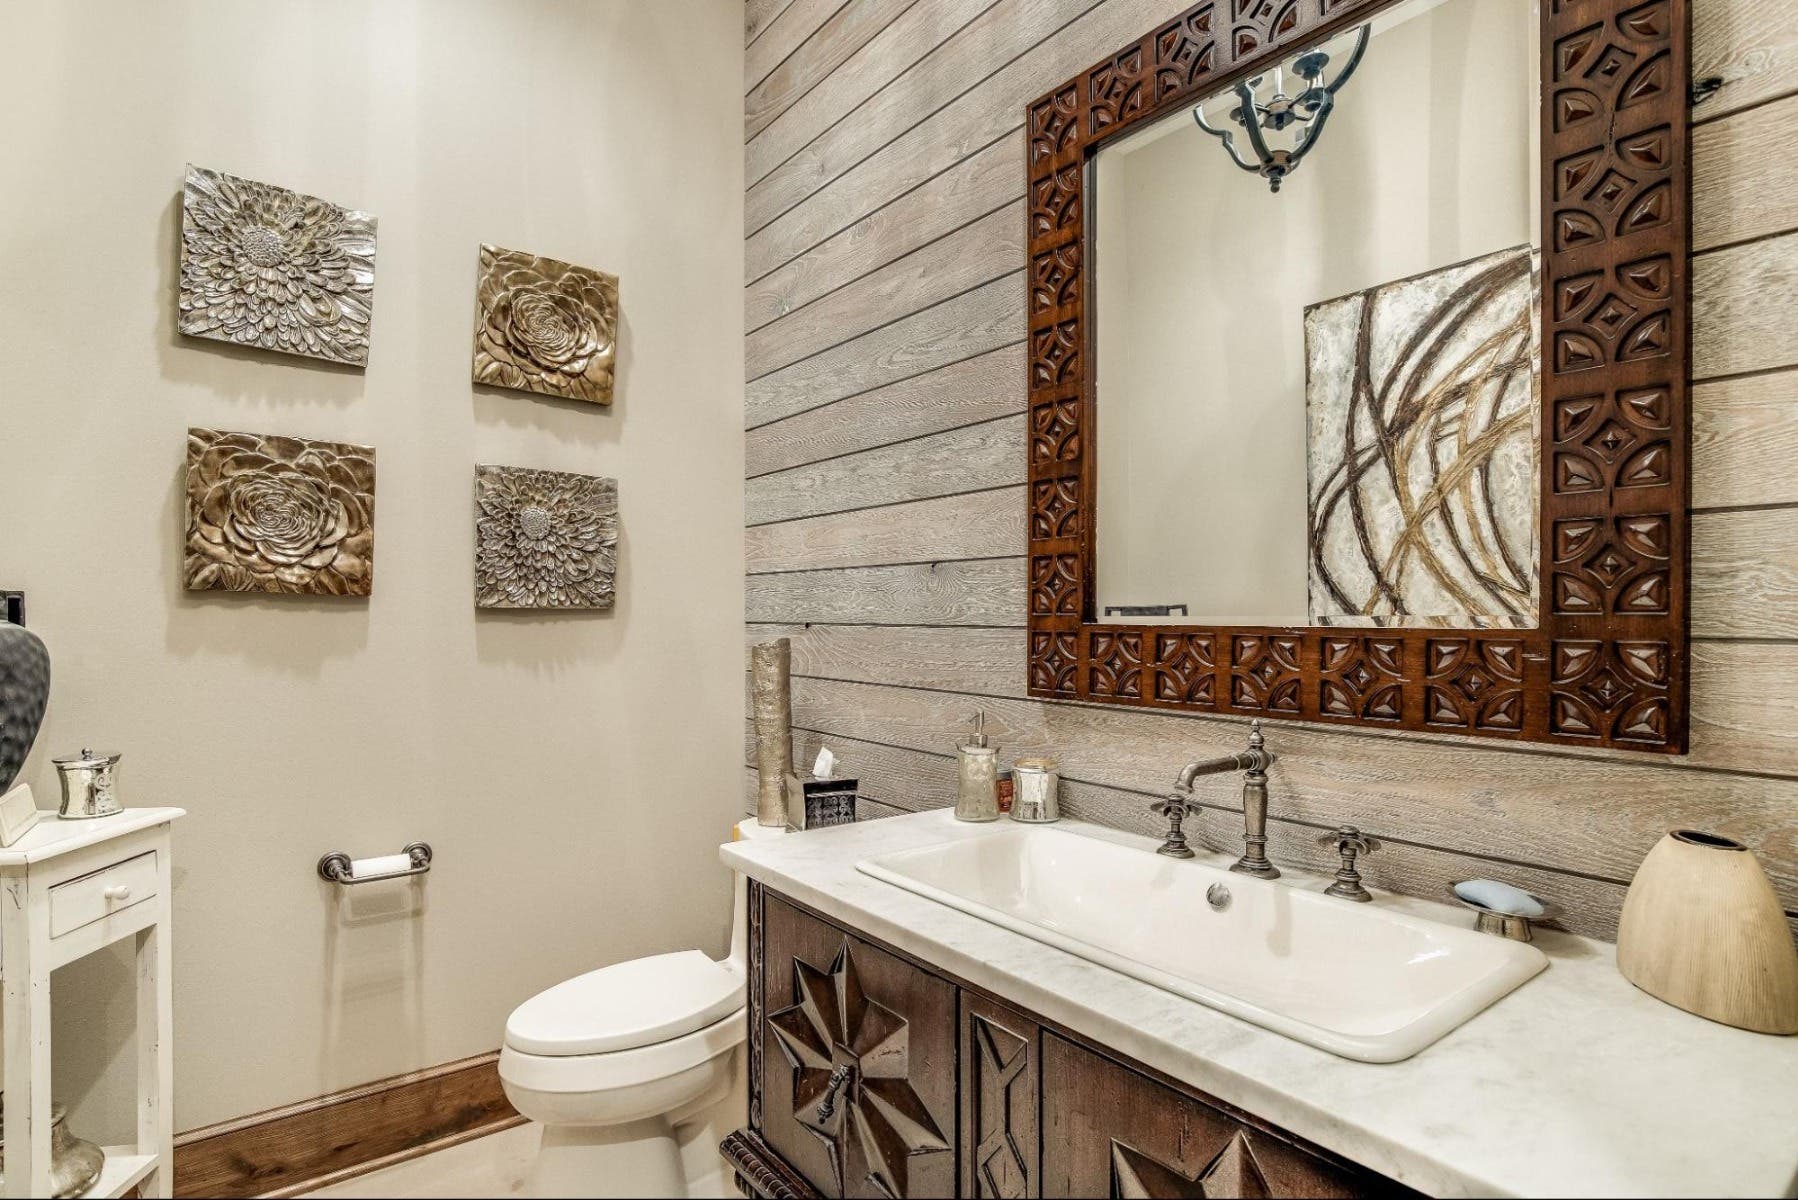
3. Painted Shiplap Bathroom Wall

Photo: Houzz
Although the most common color choice for shiplap boards is white, you can choose any color you’d like. We always encourage our customers to play around with colors and find a tone that suits their unique space and personality. For example, take a look at the vibrant shiplap bathroom above that is surely a focal point of this space.
The navy blue shiplap brings a gorgeous coastal look to this bathroom remodel. The dark wood cabinets, drop-in sink, and elaborate textures add to the luxurious feel. This bathroom shiplap wall proves that sometimes, a splash of color is needed to add the right amount of character.
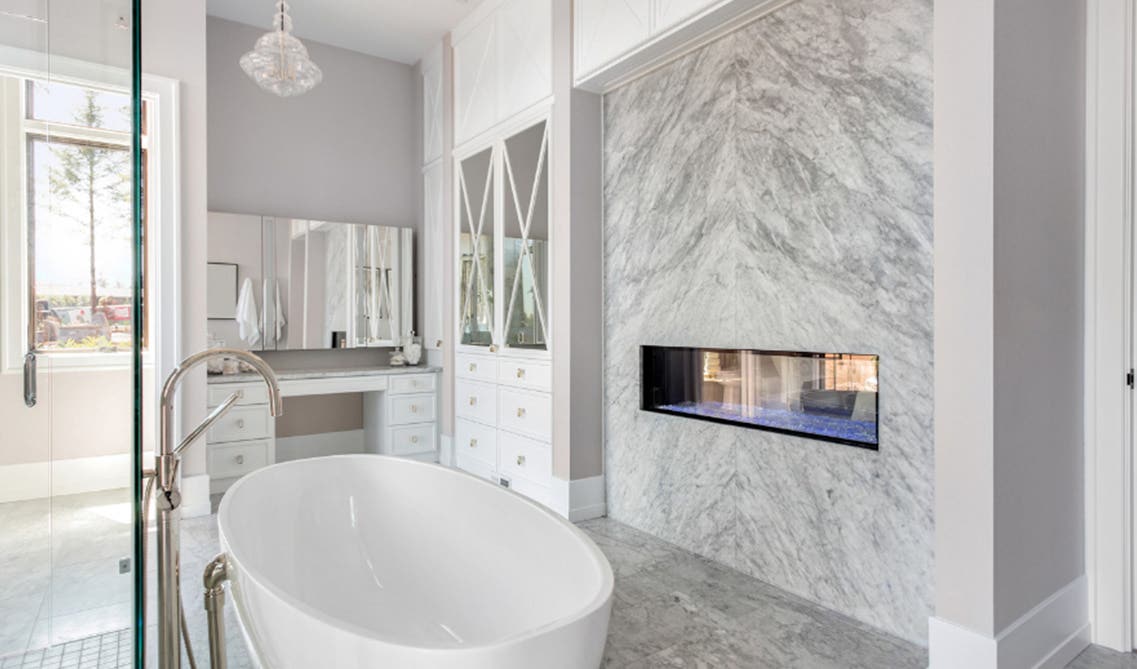
4. White Shiplap Bathroom

Photo: Houzz
If colored shiplap isn’t your thing, opt for white. White is not only striking and timeless, but it also matches most bathroom fixtures. Painting your bathroom shiplap wall white will create a classic rustic look that makes other features of your bathroom stand out.
In this bathroom, the white shiplap boards accentuate the freestanding bath and provide contrast against the tile flooring. This look is perfect for a modern farmhouse bathroom.
5. Ceiling Shiplap

Photo: Houzz
Want to take your shiplap to the ceiling? No problem!
You can use shiplap to cover up marred ceilings or dirty walls since you can install it on most surfaces. Installing a bright white shiplap to a bathroom ceiling will make the space appear much larger. To really set your bathroom apart, attach a chandelier for an elegant finish.
6. Powder Room Shiplap

Photo: Houzz
Shiplapping a big space might be daunting, especially for new DIYers. If you aren’t ready to tackle a large shiplap project, you can start small by adding shiplap to a powder room.
To start, choose colors that match your decor theme. You can use colors like blue or light green to incorporate a beachy theme.
This small bathroom design is a great example of how shiplap can brighten up an outdated, dark space.
7. Wallpaper and Shiplap Wall Bathroom

Photo: Houzz
Wallpaper can be an easy and inexpensive way to add a fun pattern to a drab bathroom. Instead of wallpapering the entire bathroom, try adding a shiplap to balance out the design. This often looks best when the shiplap is used for the bottom half of the wall and wallpaper is used on top.
This bathroom is bright and stylish with a combination of blue floral wallpaper and vertical shiplap boards. From the Ornate claw-foot bathtub to the white cabinets and vertical shiplap board, the striking combination of various patterns creates an atmosphere that's both relaxing and charismatic.
8. Textured Shiplap
Textured shiplap is a type of wood paneling that has a rough or patterned surface, adding visual interest and depth to your bathroom walls. Using textured shiplap can create a tactile and cozy atmosphere, perfect for those who want to add character and warmth to their bathroom.
This shiplap bathroom wall offers a more traditional or rustic look in this bathroom design. By using textured shiplap, you can transform your bathroom into a beautiful and inviting space.
How to Install Shiplap Boards
Installing shiplap boards may seem challenging, but it’s actually fairly simple. All you need to do is cut the boards, secure them to your walls, and then coat them. Here is a step-by-step guide to help you make the process easy.
1. Spray the Board With a Primer
Priming will seal any joint in the wood, which is important if you want to coat it with white paint.
2. Paint the Wood
It is best to paint the wood before you install the shiplap in your bathroom. This will help cover areas that might be difficult to get to after you install. Painting at this stage doesn’t need to be perfect. You can use semi-gloss paint to make cleaning the walls easily.
3. Fix the Baseboard
Since shiplap is quite thin, most DIYers opt to use normal baseboards. But if you want a modern look, you can use 1×4 shiplap boards instead.
4. Mark the Studs
Put a mark on the studs to know the exact points to nail the shiplap.
5. Begin from the Ceiling
The eye generally goes from the top of a room to the bottom. Start nailing in the boards from the ceiling to ensure they are fastened straight.
6. Space the Shiplap Uniformly
Use 16-penny nails as a spacer between the shiplap. Make sure the rows are spaced evenly as you install the shiplap in your bathroom.
7. Cut Holes for Wall Lights
With a hole saw, cut holes for wall-mount faucets and other plumbing needs. For wall lights and outlets, use a jigsaw.
8. Stagger the Shiplap
For a wide wall (9ft or more), you will need to stagger the boards. You can also cut the shiplap so it stops at the stud.
9. Seal the Nail Holes
Use caulk to cover open areas around the windows and walls. Next, fill any wood knots and nail holes using wood filler.
10. Sand
Gently sand the shiplapped walls.
11. Prime
Use an exterior and interior primer on the walls. You can also use a brush to cover cracks on the wall.
12. Paint Again
Now for the final step …the last coat of paint! As stated earlier, use semi-gloss paint so you can remove dirt easily.
Choosing the Right Cabinets Your Bathroom
If you’re remodeling your bathroom, you may also be thinking about bathroom cabinets. Keeping the bathroom arranged and tidy without proper storage can be a challenge. It’s important that the bathroom has ample space to store everything from toiletries and towels to medicines and cleaning products.
To make the most of the space you have, we recommend installing ready-to-assemble (RTA) bathroom cabinets. RTA cabinets allow you to create a custom bathroom solution for half the cost!
Not sure where to start? Our expert home designers are on standby to help you create the bathroom of your dreams. Get a FREE 3D design today!
This is an image roundup post created for the purpose of inspiration. We love to feature and promote talented designers to showcase their work. If you would like us to remove an image, please let us know and we will do so promptly.
Related Blogs:
- 7 Budget-Friendly Bathroom Remodeling Ideas- Home Improvement Hacks
- Top 5 Kids Bathroom Ideas for Your Family
- 10 Bathroom Remodel Ideas on a Budget
FAQs
1. Can shiplap be used on bathroom walls?
Yes, shiplap can be used on bathroom walls. It is important to note that moisture and humidity in bathrooms can potentially damage wood materials, including shiplap. To prevent this, it's recommended to use a type of wood that is resistant to moisture, such as cedar, teak, or redwood, or use shiplap made from PVC or composite materials that are specifically designed for use in high-moisture areas like bathrooms. Additionally, proper ventilation in the bathroom can help to reduce the risk of damage to the shiplap over time.
2. Is there a waterproof shiplap for bathrooms?
Yes, there are waterproof shiplap options specifically designed for use in bathrooms and other high-moisture areas. Some common materials used for waterproof shiplap include PVC, vinyl, and composite materials that are engineered to resist moisture and humidity. When selecting a waterproof shiplap for your bathroom walls, it's important to choose a product that is specifically labeled as waterproof or water-resistant and to follow the manufacturer's installation guidelines carefully to ensure maximum protection against moisture.
3. What kind of shiplap do you use in a bathroom?
It's important to use a type of wood that is resistant to moisture or to use a waterproof shiplap. Some good options for moisture-resistant wood include cedar, teak, and redwood. However, if you prefer the look of traditional wood shiplap, you can use a wood species that is less susceptible to water damage, such as cypress or pine. It's important to properly seal and protect the wood to prevent moisture from penetrating and causing damage over time.
4. How do you waterproof a bathroom shiplap?
One option is to use a waterproofing sealant or coating specifically designed for wood surfaces. These sealants can be brushed or sprayed onto the shiplap and will create a barrier that repels water and prevents moisture from penetrating the wood. Another option is to use a waterproof shiplap made from PVC or composite materials, which are inherently moisture-resistant and do not require additional waterproofing. Additionally, it's important to ensure proper ventilation in the bathroom to help reduce humidity levels and prevent moisture buildup on the shiplap.
Shop Related Cabinet Lines
Recent Blogs

Kitchen Decor
What Your Wife Really Wants for Mothers Day

Kitchen Cabinets,Wood Cabinets,Cabinet Tips,Cab...
Laminate vs. Wood Cabinets: Choosing the Best Material for Your Needs


25+ Ways To Style Grey Kitchen Cabinets August 1, 2019
18 Unique Modern Bathroom Ideas | Cabinets, Vanities + More October 22, 2019
11 Fresh Kitchen Backsplash Ideas for White Cabinets March 5, 2020
What Your Wife Really Wants for Mothers Day April 25, 2024
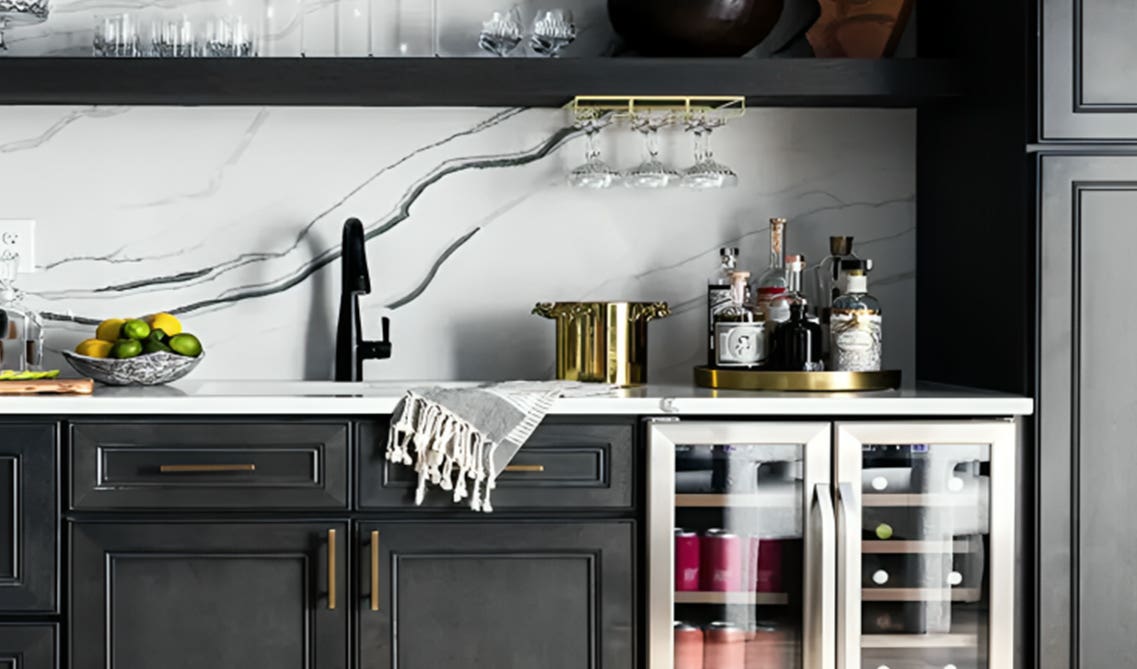
Why You Should Embrace a Solid Slab Backsplash April 4, 2024


Comments