


subscribe to our Newsletter
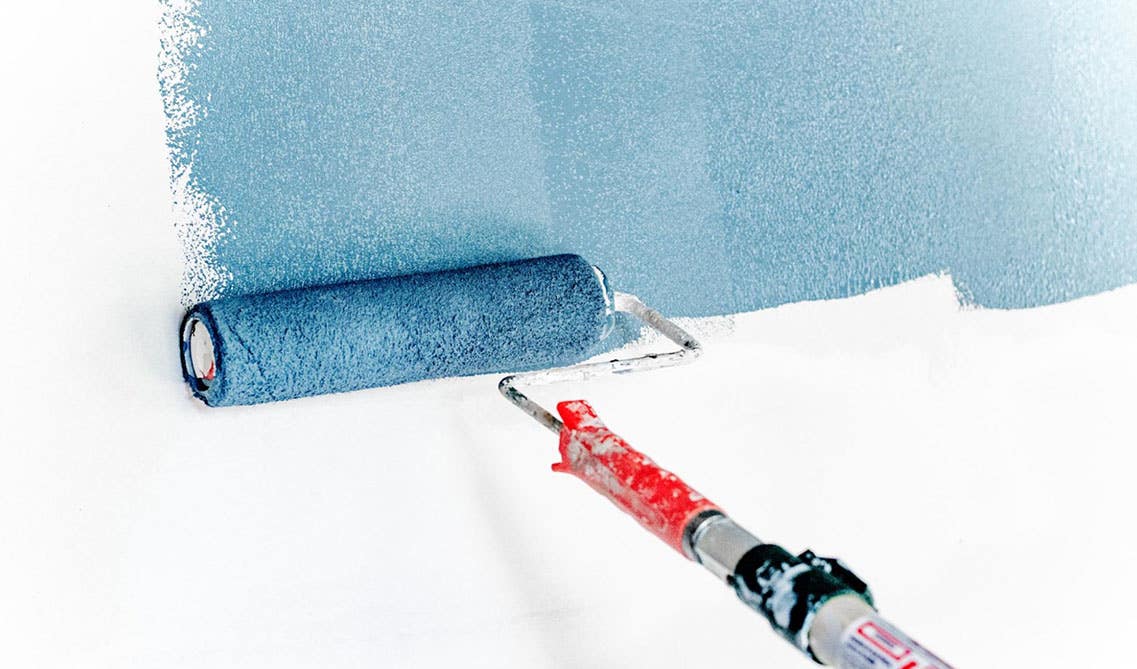
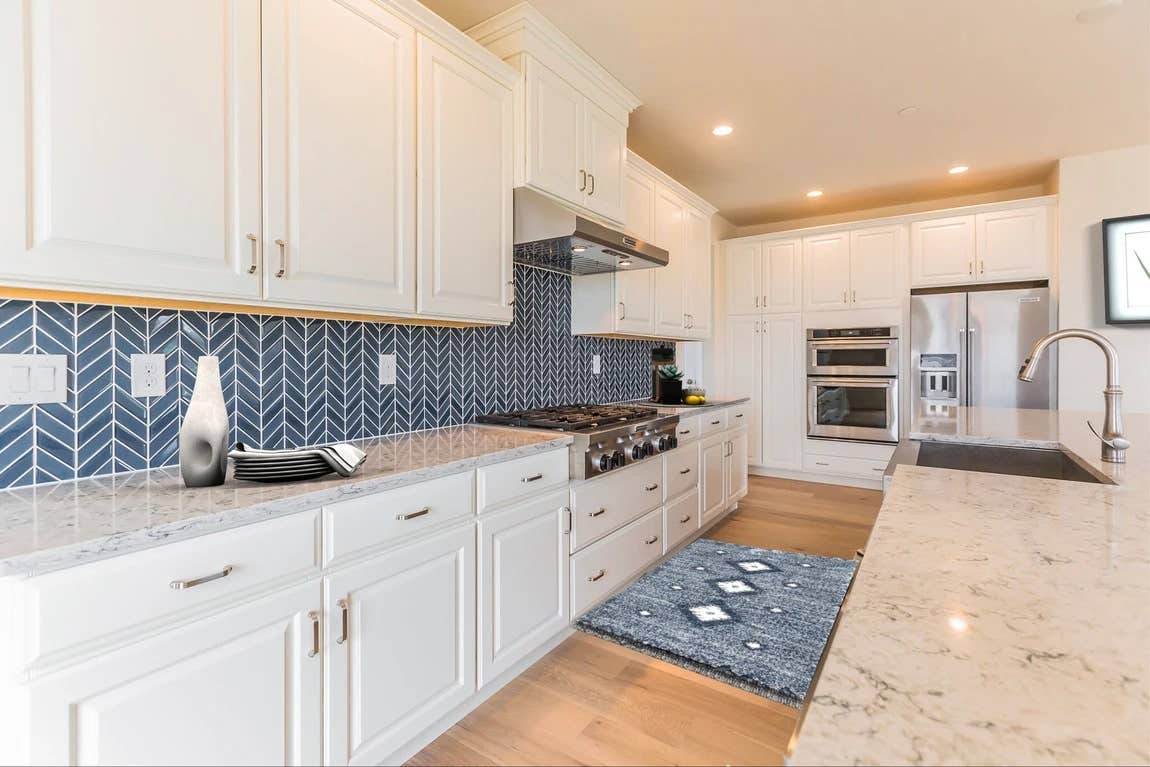
How To Paint Kitchen Cabinets


Need a budget friendly way to update your kitchen? You should consider painting your kitchen cabinets. Painting kitchen cabinets will be your lifesaver to an outdated kitchen.
Although, it will be a process - painting your kitchen cabinets will not only provide a huge transformation but, it will not break the bank either. Let’s walk through the steps to ensure your cabinets have a professional finish and don’t look like they were an afterthought.
1. Gather Your Supplies
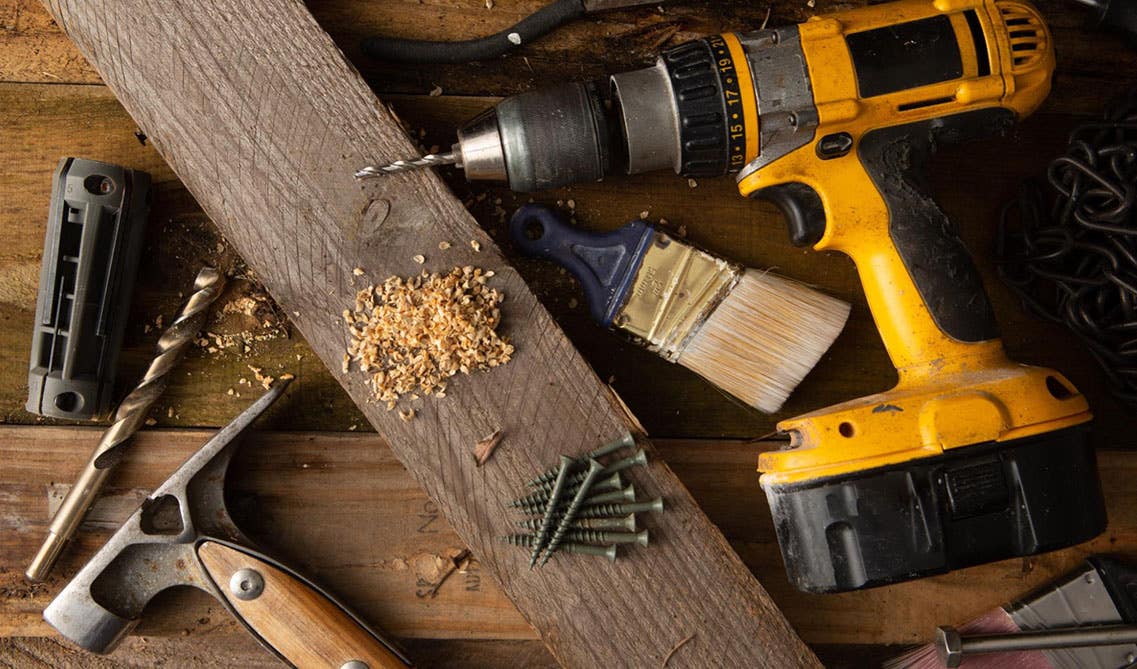
When it comes to tools and supplies make sure that they are brands you trust and are comfortable using. Majority of the supplies are ones that you may already have, therefore, making it even more budget friendly.
- Degreaser spray
- Latex primer
- 100% acrylic cabinet paint
- Roller sleeves
- Screwdriver/screw gun
- Permanent marker
- Small resealable plastic bags
- Rag or microfiber cloths
- Foam sanding block or medium grit sandpaper
- Orbital sander or 320-grit sandpaper
- Paint tray
- Paintbrush
- Mini paint roller
- Cabinet drying rack or station
- Paint sprayer
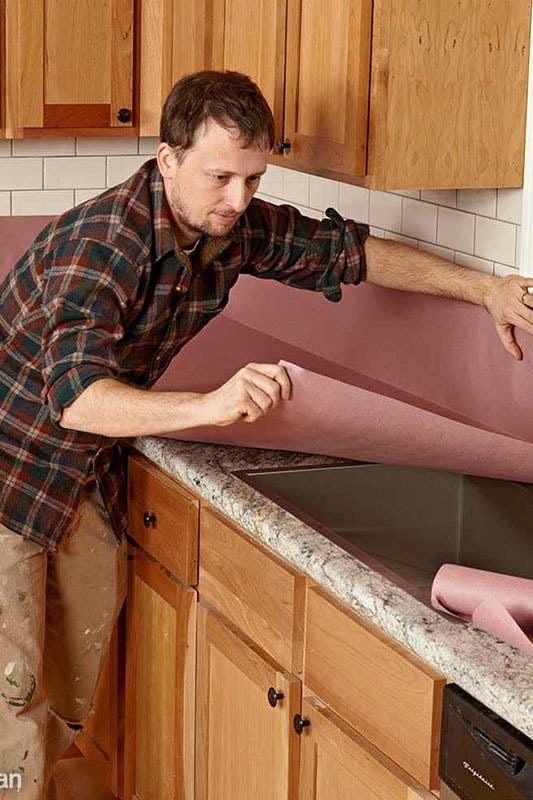
2. Prep The Area
https://www.familyhandyman.com/
Prepping your area may seem tedious but it will limit stress throughout the process and clean up time at the end. Prepping your area will look like:
Emptying the cabinets
This means taking your favorite coffee mugs, holiday platters, and trusty non-stick pans out of your cabinets. Store them in a safe, clean place while you are transforming your kitchen.
Cover countertops/ flooring/ backsplash
Whatever material you use to cover your countertops, flooring, etc. is up to you. We recommend a painter drop cloth to eliminate slipping and paint drops leaking onto your protected surface.
Tape walls around the cabinets
No one has a perfectly still hand when painting. Taping the wall around your cabinets will ensure that when you are painting all the edges for a clean look, you aren’t accidentally hitting that pretty backsplash or painting on the wall and having to find the specific paint color again to fix it with.
Create a workspace for painting the shelves, doors, etc
Once you get to the fun part of the process which is painting, you’ll need an area where you can allow your cabinet pieces to be able to dry evenly. This may mean creating a quick DIY drying station or purchasing a cabinet painting rack.
3. Remove Cabinet Doors, Drawers, & Hardware
Surprisingly removing and taking apart the cabinets is a very detail oriented task. This is where the marker and resealable plastic bags will come in handy.
- Label each cabinet frame (1, 2, 3…) or (a ,b, c…)
- Label each door on the cabinet with the corresponding cabinet frame number or letter
- As your removing the hardware put it in a plastic bag with the corresponding label of the matching door + cabinet number or letter you chose
This step will save you time and frustration. Trust us!
4. Prep The Cabinets
Now that you prepped the area you are working in, let's prep what you are actually transforming. Kitchens are dirty so your cabinets collect grease and food remnants over time therefore, you’ll prep by:
- Cleaning the cabinets
- Repairing the damages
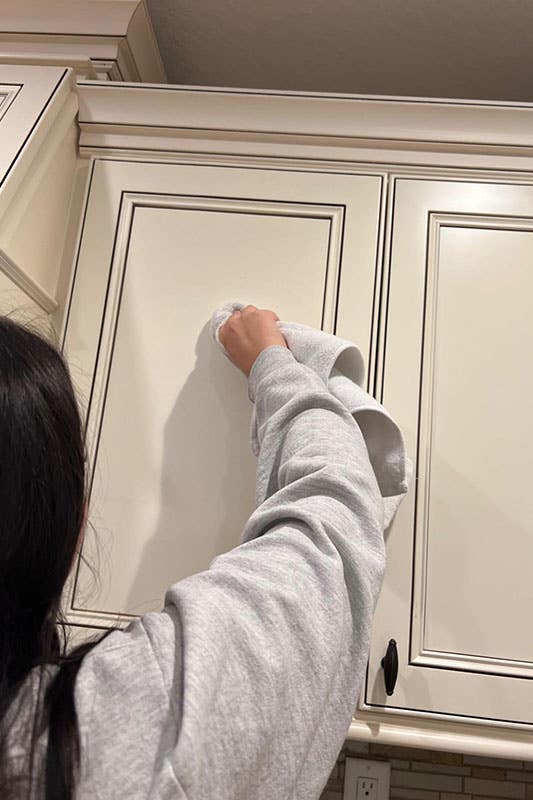
What do I clean my cabinets with?
To remove all the grease and grim you’ll use a degreaser. This can be a store bought one or you can make a DIY degreaser from home. If you need a tougher solution, any TSP cleaner will work. Once your degreasing solution is sprayed onto the cabinet, wipe it down with a rag or microfiber cloth and watch all the scum come off - gross!
Also read: How to Clean Kitchen Cabinets Step-by-Step
How do I fix small cabinet damage?
Kitchen cabinets can take a beating over time therefore, your hero is wood filler to fill in all the nicks and holes. Wood filler is sandable so you can create an even finish when painting, unlike wood putty which is denser - thus being not sandable and not proper for this particular job.
If you’re wanting to refresh your hardware as well, fill in the holes with wood filler, sand over it, and you’ll be able to start fresh and apply another set of hardware anywhere.
5. Sand The Cabinets
The purpose of sanding your cabinets before priming is:
- The primer will need texture to adhere to
- You’ll have a smooth finish when it comes to painting
This will give you that professional finish you’re looking for.
What kind of sandpaper should I use?
To prep for the prime, you want to use a foam sanding block or medium grit sandpaper. If your cabinets really need help, we would suggest an orbital sander or high grit sandpaper. Below, you can find your ideal sandpaper for the job.
Type of Sandpaper
Extra Course
24-36 grit
Removes stubborn paint and varnish, used for toughest jobs
Course
- 40-50 grit
- Removing previous finishes
Medium
- 60-100 grit
- Shaping, removing paint marks
Fine
- 120-220 grit
- Final sanding before work is finished
Extra Fine
- 240, 320, 400
- Between coats of paint or varnish
Superfine
- 600 grit
- Polishing jobs
Just note that you don’t want to sand too much, just enough to create some texture for the primer.
After, don’t forget to vacuum or use your rag to wipe away the access sanding shavings, so you don’t have any loose material that will cause clumps in the priming or painting process.
6. Prime The Cabinets
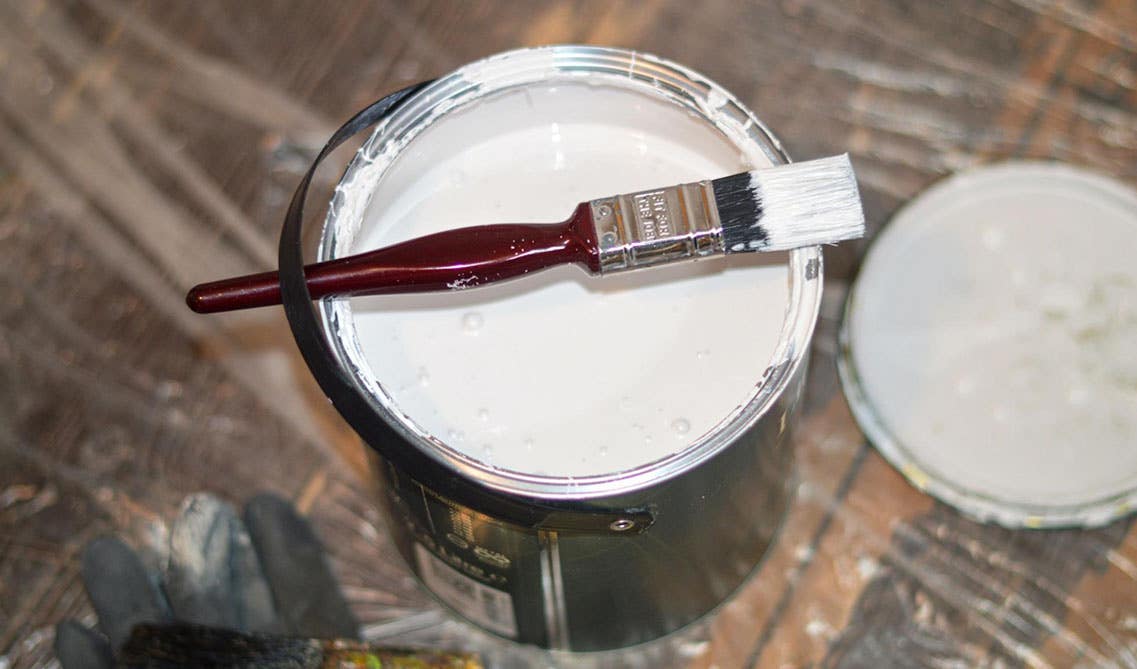
After you've finished sanding, choose an oil-based primer or a primer made of 100 percent acrylic latex to finish the job. If you are painting a lighter color over a darker color, priming will help the paint have an even smoother finish and hide the prior color.
What brushes do I use?
Choosing a brush is a critical part to how your cabinets paint will dry. A brush will be beneficial when needing to apply the primer to:
- The edges
- Small spots
- Just need more control in certain areas
The mini roller is use for:
- Large areas
- Flat areas
Mini rollers allow for a more consistent and faster application.
How can I avoid a streaky finish?
You’ll apply these techniques to the painting process as well. Starting with priming the cabinet frames. Some techniques you want to use are:
- Working from the inside out
- Moving from the back of the cabinet to the front
- Go with the grain of the wood for a cleaner stroke
- End the painting strokes in the same direction
- Don’t apply too much pressure
As for the doors and drawers, since they are not attached to the wall and are separate pieces the techniques you want to use are:
- Apply the primer to the backside first
- Wait till the primer dries
- Flip the doors and drawers over and continue on the front
A tip to make your life easier is to purchase painters tripods to elevate your drawers and be able to prime, paint, and dry easier.
7. Sand The Cabinets Again
Now why do you need to sand again? We already did that! Well, this is optional but, if you want a professional, clean, smooth look this step is necessary. Using a 320-grit sandpaper you will go over the primer to eliminate any bumps, clumps, or rough textures that you might’ve missed or the primer caused.
Like last time you sanded, don't forget to vacuum or use your rag to wipe away the access sanding shavings, so you don’t have any loose material that will cause clumps.
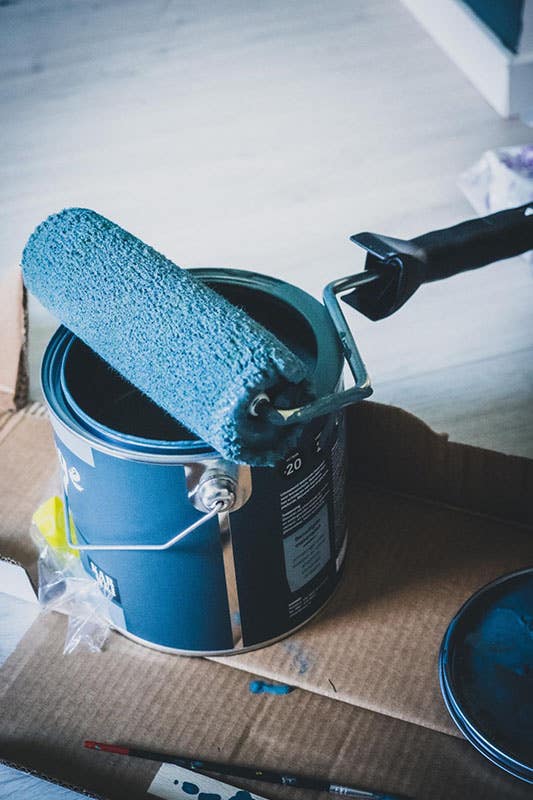
7. Paint The Cabinets
Now here comes the fun part, painting time! You’ll apply the same techniques you did during the priming process of:
- Working from the inside out
- Moving from the back of the cabinet to the front
- Go with the grain of the wood for a cleaner stroke
- End the painting strokes in the same direction
- Don’t apply too much pressure
What kind of paint do I use?
You want to make sure that your paint is an acrylic paint and not a vinyl finish. Acrylic paint doesn’t have an odor, is easy to clean up, and is a high quality product. While vinyl paint is cheaper, thin, and hard to remove.
Should I roll my paint on or spray it on?
To create the sleek, clean look that you see on tv or in store you will want to spray to paint your cabinets. Spraying your cabinets will allow for a much smoother finish rather than rolling which can cause inconsistent streaking.
It is all preference though!
Checkout: Best Kitchen Cabinet Color Ideas with Long-Lasting Appeal
8. Apply A Second Coat
Lucky for you, since you used acrylic based paint your cabinets will be dry after only 30 minutes and you just need one more coat. Painting is never perfect the first time therefore, the second coat is essential to not being able to notice the old, outdated color peaking through.
Checkout: Should I Paint My Kitchen Cabinets? Pros vs. Cons
9. Reinstall The Cabinets
After waiting at least 48 hours for your cabinets to dry, you can begin attaching the cabinet doors and hardware. Match up your hardware with the corresponding door and cabinet and assemble.
Takeaways
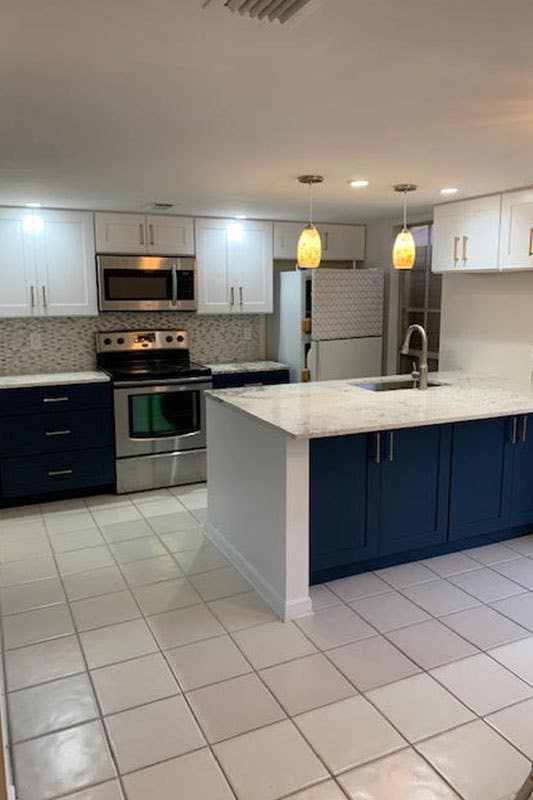
As we mentioned in the beginning, painting your kitchen cabinets can be a process but it comes with so many satisfying benefits. To get inspiration on what colors may look good in your kitchen check out LilyAnnCabinets.com for a variety of options.
FAQ:
1. How much does it cost to paint kitchen cabinets?
On the low side its around $400 to about $1,250 on the high side.
2. Can I just paint over my kitchen cabinets?
You need to begin with sanding if there is already paint on your cabinets and priming the cabinets.
3. What kind of paint do you use on kitchen cabinets?
The best paint to use is acrylic paint.
4. Is it better to roll or brush paint cabinets?
Rolling paint on your cabinets is the best option; it will be smoother and even out the paint.
Shop Related Cabinet Lines
Recent Blogs

Kitchen Decor
What Your Wife Really Wants for Mothers Day

Kitchen Cabinets,Wood Cabinets,Cabinet Tips,Cab...
Laminate vs. Wood Cabinets: Choosing the Best Material for Your Needs


25+ Ways To Style Grey Kitchen Cabinets August 1, 2019
18 Unique Modern Bathroom Ideas | Cabinets, Vanities + More October 22, 2019
11 Fresh Kitchen Backsplash Ideas for White Cabinets March 5, 2020
What Your Wife Really Wants for Mothers Day April 25, 2024
Why You Should Embrace a Solid Slab Backsplash April 4, 2024


Comments