


subscribe to our Newsletter
Most Popular Backsplashes for Your Kitchen Design

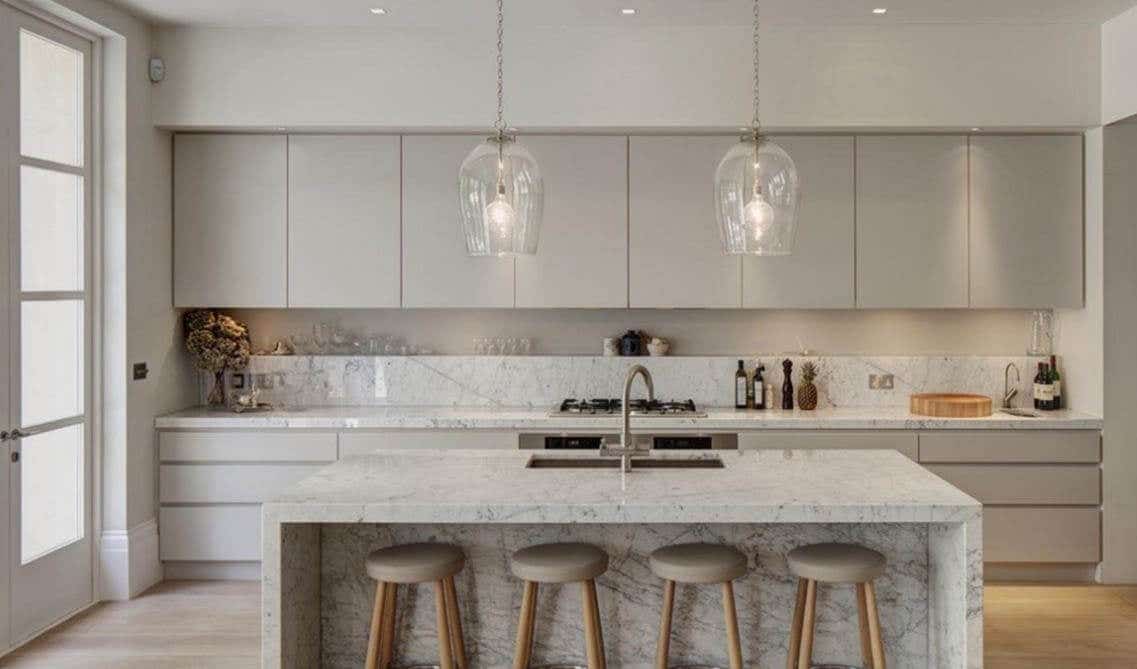
The backsplash in your kitchen can often be an oversight when it comes to modern kitchen design inspiration. Most people plan their countertops, appliances, and kitchen cabinets out in advance, but so many forget about the backsplash.
Although a kitchen backsplash is usually used to prevent your walls from getting filthy, it can also serve as your kitchen's aesthetic background and focal point.
But what style of backsplash should you choose? We will look at different backsplash ideas for your kitchens and help you choose the right one for your home!
What are the different types of kitchen backsplash?
Although you probably go straight to tiles, there are many different types of backsplash tiles for your kitchen to choose from, eliciting both classic and modern kitchen backsplash design styles.
Some of the best kitchen backsplashes include:
Subway Tile

The subway tile design is a great way to tone down busy kitchens. These simple designs are usually laid out in a brick-like fashion. If you are looking for a more contemporary look, you can display them vertically or diagonally instead of horizontally - giving you more options when designing your space!
Colors for subway tiles vary and can be customizable to suit your kitchen design and aesthetic.
Subway tile is a classic design that never goes out of style and is so versatile! You can use this backsplash material in any room - even your bathroom.
The original size was 3" x 6", but today you'll find long or short pieces with different dimensions depending on how much space they need to fill.

Subway tile is also an easy-to-clean design that won't show dirt as much. Whether you want long straight lines or basket weaves- there is a variation available with this popular material so that everyone can find their style
So, what can you do with Subway Tile?
1. Classic Running Bond
Tile treatments that use a classic brickwork pattern add a floor-to-ceiling appeal in kitchens and bathrooms. This style is simple enough for any skill level, requiring fewer complicated cuts than other designs.
When it comes a time, make your tiled walls appear serene by helping them bring a sleek and organized look to a more extravagant or ornate kitchen design.
With running bond subway tiles--their joints are offset across all adjoining tiles. This is where the white or light grout comes into play. It will help to prevent your tiles from looking too fussy by giving them an even, clean appearance that's not overwhelming for viewers' eyes!
2. Vertical Running Bond
Subway tiles are a great way to add height and drama to any space. This is especially true when they're installed vertically!
When laying out a vertical running bond design for your subway tiles, the ½ running bond uses an offset equaling half of the "running" side. Then the long side of the tile runs vertically instead of horizontally.

3. 45-Degree Herringbone Pattern
Herringbone tile is a classic that will never go out of style!
A herringbone tile pattern uses subway tiles arranged to meet perpendicularly at the ends to create a v shape. You can lay herringbone at either a 90 or a 45-degree angle depending on the look you are going for. The 90-degree angle is more exaggerated than the 45-degree layout and accentuates the v shape more within the backsplash design.
4. 90-Degree Herringbone Pattern
Herringbone subway tiles are the perfect backdrop for traditional-style or vintage-inspired kitchens and bathrooms. In this design, the tiles are set perpendicular to each other at 90-degree angles to create a striking, simple pattern that can be used as an accent wall with its soft lines while also helping break up hard surfaces when used throughout your entire backsplash.
5. Double Basket Weave
The double basket-weave layout is a modern take on an old favorite when crafted from white subway tile. Made up of pairs of vertical panels framed by horizontal ones, this pattern can be easily planned or installed with ease. Mix the design with smaller tiles to accentuate the spacing between the “weaves” of the subway tile, and you will have a beautiful backsplash in your kitchen that will be a staple of your kitchen design.
6. Horizontal Stacked Bond
This minimalist design features even rows of subway tiles strategically aligned horizontally to create a movement of the eye around your countertops and throughout your kitchen layout. Think of it as the leading line of your kitchen.
7. Vertical Stacked Bond
In this tile layout, the subway tiles are stacked vertically to make a sleek and modern backsplash design. This backsplash helps lead the eye up and to your cabinets above and gives the kitchen the illusion of being bigger and more spacious.

Mosaic Tiles
If you're looking for something to spice up your home décor, look no further than modern mosaic tiles! These detailed designs can be as simple or complex as desired with their pre-assembled patterns.
Micro mosaic designs are closer to traditional style than other types, as they use tiny pieces of metal, ceramic, or porcelain that can be placed onto a surface individually for an intricate pattern.
You can put together an impressive design on almost any surface top with just some creativity and patience! Get started by looking at all the beautiful tiles available at Lily Ann Cabinets.

You can tile over just about any surface. First, prepare the surface, ensuring the tile will adhere to the surface. Then, draw your pattern on the surface you're going to tile over. To do this, score the surface with a utility knife, then coat the surface with a mixture of watered-down white glue.
Next, you take tile cement, a thin mortar set, and smooth a thin coating on the surface. Place your tiles in the cement according to the pattern you drew. Once the cement has been set, fill the gaps between the tiles with tile grout.
Use a trowel to apply the grout over the seams between the individual tiles, then wipe away the excess with a sponge.
How Do You Cut Mosaic Tiles?

Cut with Care!
Many people who install mosaics have never had to cut one before, and it's not as easy as you might think. If the material is linear, like paper or mesh-trimmed vinyl tiles, for example - then chances are most of your cutting will need to be done with heavy-duty scissors/tin snips (depending on what kind). But when installing complex designs such as marble & glass you will most likely need a wet tile saw to help cut out your intricate designs.
How Do You Install Mosaic Tiles?
The cool thing about installing mosaic tiles is that you can do it in many different styles and designs! They're perfect for updating your space with a unique flair, whether installed on their own or used as an accent.
Let's go over the basics of how to install your mosaic tiles.
Follow these steps:
Find the center of each sheet; measure its length (the distance you'll be working), then mark it with chalk or painter's tape so that both ends are aligned accurately on either side against their respective edges for everything else to go smoothly.
Now start installing -
First, apply adhesive along all four edges before spreading across any excess surface area if necessary, layering them up carefully one over another until they fit perfectly into place.
The installation process is not as difficult or time-consuming when you work in an organized manner. Next, start placing your mosaic tiles against the adhesive on the wall and press firmly for a good grip. This will be when you start seeing your design come to life.
Lastly, grout carefully. Mosaics with small chips will require smooth grout and sealant to ensure that even the most delicate design is fully grouted.
Incorporating mosaic tiling into a space can bring more texture, color, and pattern to a kitchen that would otherwise appear dull. Lily Ann Cabinets has beautiful mosaic tile options for sale online, and they are just one click away from making your space into a dream space! With these beautifully crafted mosaic tiles, any shower, bathroom, kitchen, or any other room you decide to place these tiles in, will immediately look more modern.

Contact Lily Ann Cabinets to chat about how to find the perfect subway or mosaic tile design for you! Our design team is happy to help you review the choices to style your tile with fixtures, finishes, and all of the creative details that go into an interior design you're sure to love!
FAQ
how to tile kitchen backsplash?
Pre-lay the tile
- Place the tile across the wall.
- Mark where each tile will lay on the wall as a guide. Use a level to help you keep each tile even.
Cut the tiles
- Cut each tile to size and to help fit in the section of the backsplash you need that tile to go.
- Prepare Mortar
- Apply mortar to the wall
- Lay your tile where you originally marked
- Grout and seal the tile to the wall
how to measure kitchen backsplash tiles?
Step 1
First, you'll need to figure out the total area of your backsplash in square inches by measuring the height and width of your backsplash. Be sure to write this down and always round up.
Step 2
To calculate the square inches, multiply the height times the width to get the total surface area you will be covering. If there are multiple walls or sections, you can find the area of each separately and add them together for your final number.
Step 3
Next, you will have to calculate the total square footage you need in the tile. To get this number, divide the total square inches, that you just calculated, by 144.
how to remove the kitchen backsplash?
- Scrape between the existing tiles on the wall to loosen and remove old grout.
- Use a masonry hammer and chisel to tap the tile pieces free.
Shop Related Cabinet Lines
Recent Blogs

Kitchen Decor
What Your Wife Really Wants for Mothers Day

Kitchen Cabinets,Wood Cabinets,Cabinet Tips,Cab...
Laminate vs. Wood Cabinets: Choosing the Best Material for Your Needs


25+ Ways To Style Grey Kitchen Cabinets August 1, 2019
18 Unique Modern Bathroom Ideas | Cabinets, Vanities + More October 22, 2019
11 Fresh Kitchen Backsplash Ideas for White Cabinets March 5, 2020
What Your Wife Really Wants for Mothers Day April 25, 2024
Why You Should Embrace a Solid Slab Backsplash April 4, 2024


Comments