


subscribe to our Newsletter
DIY Guide: How to Replace a Kitchen Faucet in Simple Steps


Replacing a kitchen faucet might seem like a daunting task for beginners. Still, with the right guidance and patience, it's a manageable project that can greatly enhance the functionality and aesthetics of your kitchen.
In this beginner's guide, we'll walk you through the step-by-step process of replacing a kitchen faucet, providing you with the knowledge and confidence to tackle this DIY project and enjoy the satisfaction of a job well done. So, let's start upgrading your kitchen by learning how to replace a kitchen faucet!
Before you get started, there are a few items you will need handy throughout the process:
- New kitchen faucet
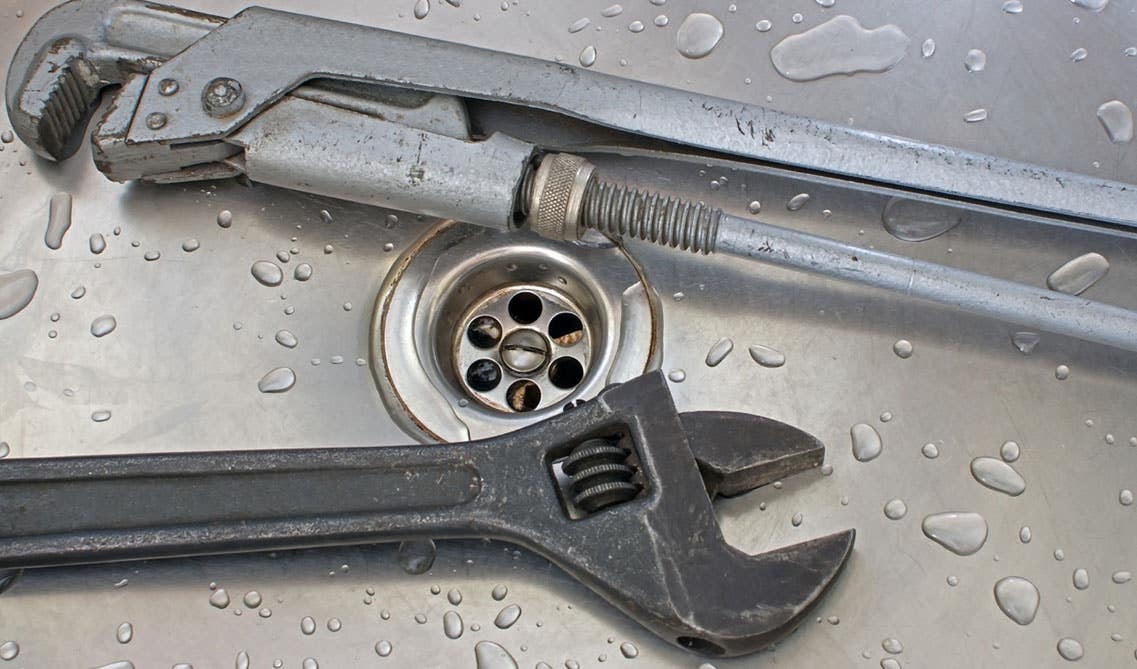
- Adjustable wrench
- Basin wrench
- Plumber's tape (Teflon tape)
- Bucket or towels
- Pliers
- Screwdriver
Step 1: Turn Off the Water
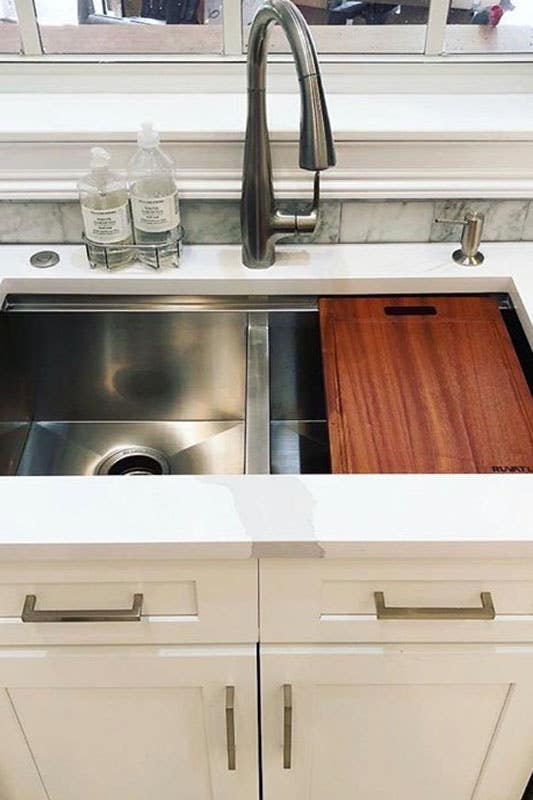
Lily Ann Cabinets: White Shaker Elite cabinets
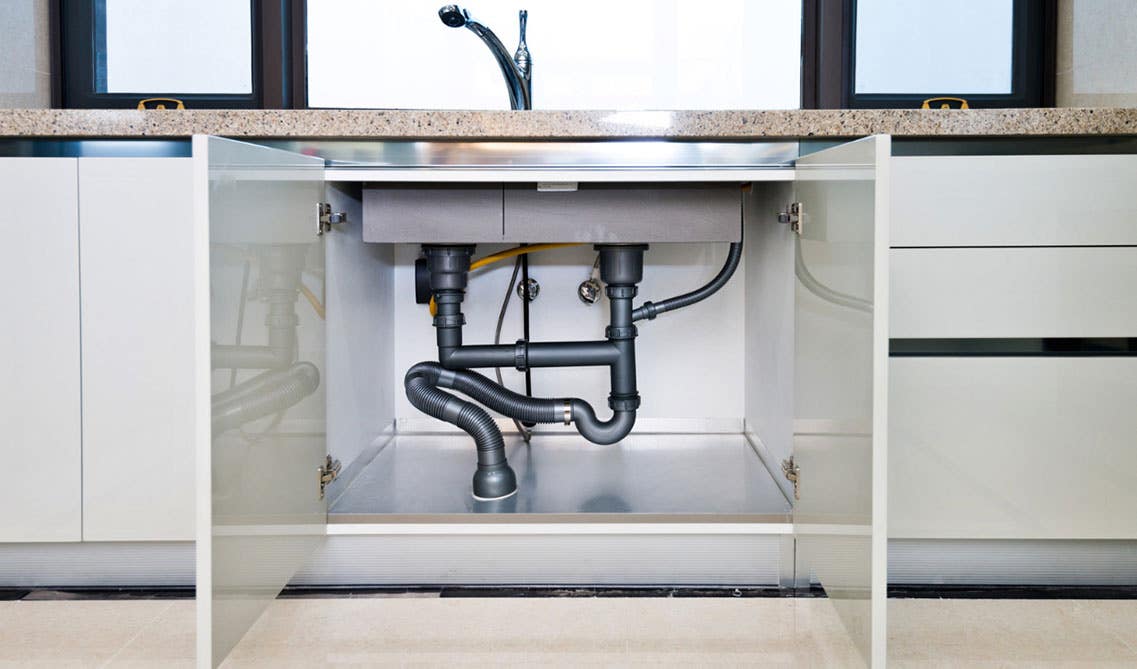
Once you have your material gathered, you are ready to begin the process. Start by ensuring the water is turned off. To do so, go beneath your sink and locate your shutoff valves to cut off both the hot and cold water supplies. You can also label which is which If needed with a marker. If you are unable to locate the valves beneath your sink, it may be because your faucet does not have them. In that case, you will need to temporarily shut off the main water supply of your home.
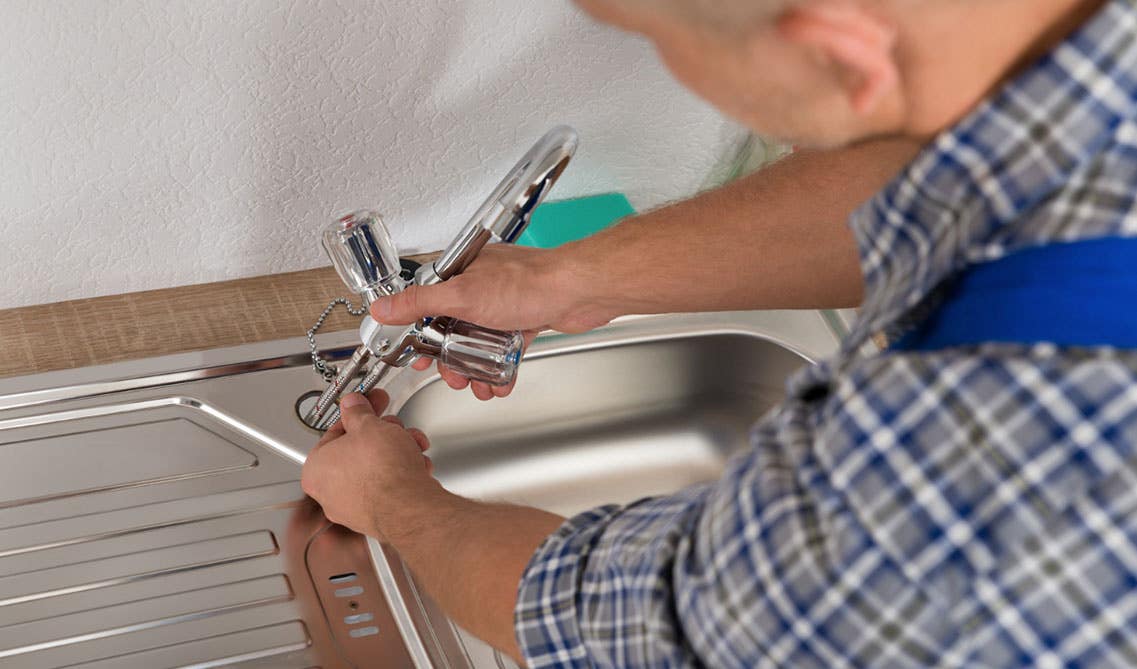
Step 2: Disconnect the Original Faucet
This is the time to use your towels or bucket that you gathered. Place it directly under the sink to catch any excess water that may spill while you disconnect your sink. Using your adjustable wrench, twist it counterclockwise to loosen and disconnect the water supply lines. If your faucet has a sprayer attached, now would be the time to disconnect that as well.
Look around for any remaining nuts securing the faucet to the sink, and if any are found, use pliers to remove them in order to fully disconnect all remaining connections to the sink and faucet. If the valves are leaking even while the water is completely turned off, you likely have a faulty valve. In order to fix that, you will need to ensure all the water in the house is turned off before replacing it.
Step 3: Remove the Old Faucet
Check the underside cabinet where your sink was previously supported for any mounting hardware. For faucets with one single handle to control temperature, the hardware is likely mounted through that shank. For double handles to separate hot water from the cold, check for mounted hardware through those two valve connections. All hardware will need to be removed from the faucet before attempting removal.
With everything completely disconnected and unmounted, the faucet is ready to be lifted out. Once it is out, be sure to clean the area well before installing the new faucet.
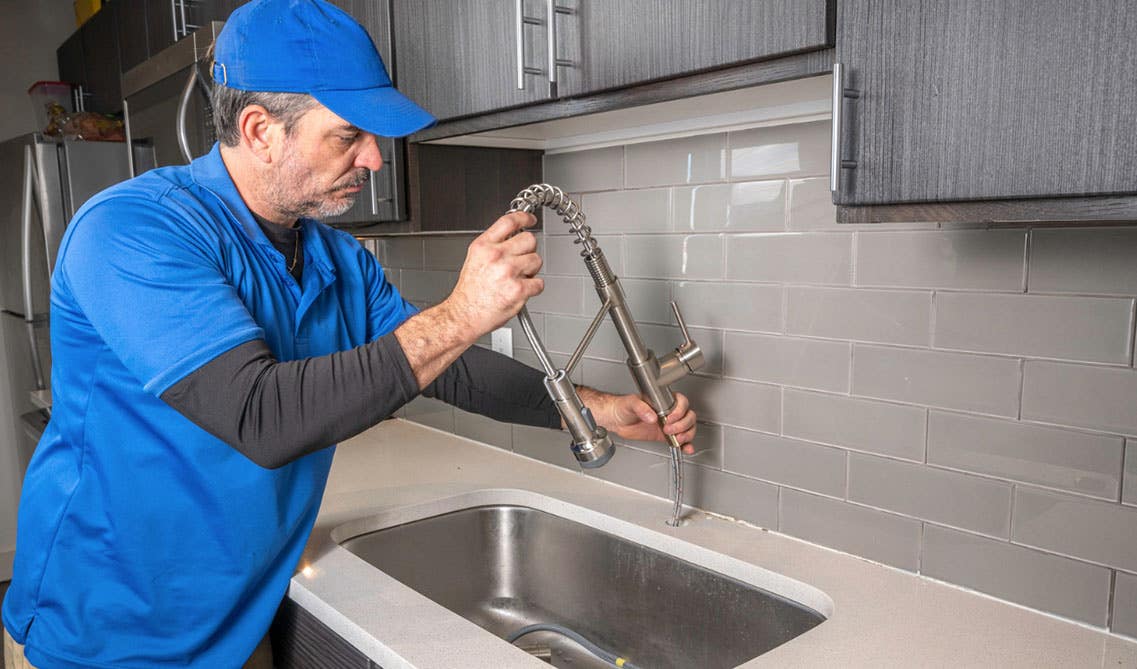
Step 4: Installation Process
Each faucet is different, so make sure to review your instruction manual first, before jumping into the process.
Depending on whether you have a one hole installation or a three hole installation, you may need an escutcheon plate. These are used to cover the gap left around the base of the faucet and the sink. For single hole installation, an escutcheon plate is not necessary, but for three hole installation faucets, it is required to fill the two holes on each side. A gasket will also be used to fill the holes in order to prevent leakage and seal the escutcheon plate and the countertop.
Drop down all the tubes supplied with your faucet, through the hole on top of your sink. Once the tubes are dropped through the sink, go beneath to secure the faucet in place with mounted hardware or nuts. You can tighten them using a wrench or pliers until you feel the resistance, be careful not to continue to tighten too much or you can cause damage to the sink and or faucet.
Reconnect the hot and cold water supplies use your teflon tape around the threads, and then continue to tighten the connections with your adjustable wrench. If your new faucet has a sprayer, connect a circular shaped weight on the end, and then connect that as well. The weight will help keep the sprayer head in position when you are done using it, so it is an important addition.
Step 5: Test the Faucet
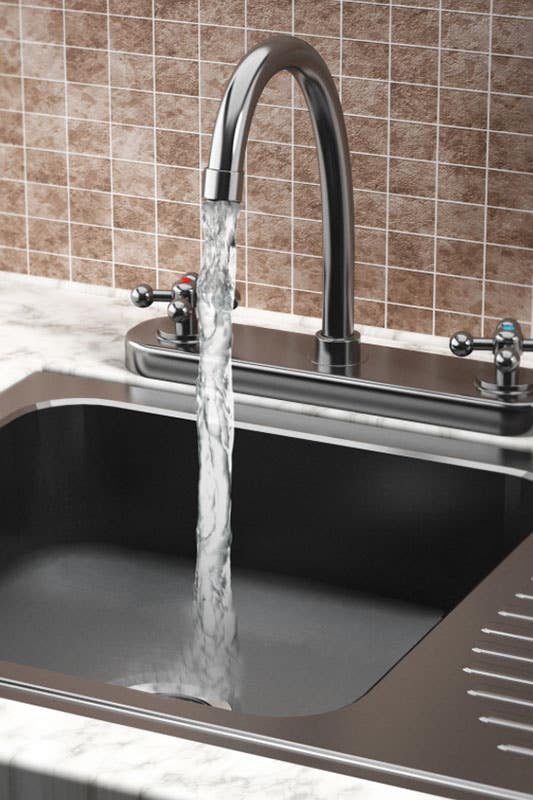
Once everything is connected, double check that there are no leaks and that everything is tightly connected. Slowly turn on the water to ensure there are no leaking connections. Allow the water to run for about a minute, and check each function to confirm everything is staying dry and they are operating as they should.
In conclusion…
Replacing a kitchen faucet is a manageable task, even for beginners. By following this step-by-step beginner's guide and taking your time, you can transform your kitchen with a fresh, functional faucet. Remember to always prioritize safety, turn off the water supply, and follow the manufacturer's instructions for your specific faucet model.
With the right tools and a little patience, you'll have your new kitchen faucet installed in no time, and you'll gain valuable DIY skills along the way. Enjoy the improved functionality and aesthetics of your kitchen!
Shop Related Cabinet Lines
Recent Blogs

Kitchen Decor
What Your Wife Really Wants for Mothers Day

Kitchen Cabinets,Wood Cabinets,Cabinet Tips,Cab...
Laminate vs. Wood Cabinets: Choosing the Best Material for Your Needs


25+ Ways To Style Grey Kitchen Cabinets August 1, 2019

18 Unique Modern Bathroom Ideas | Cabinets, Vanities + More October 22, 2019

11 Fresh Kitchen Backsplash Ideas for White Cabinets March 5, 2020
What Your Wife Really Wants for Mothers Day April 25, 2024

Why You Should Embrace a Solid Slab Backsplash April 4, 2024


Comments