

subscribe to our Newsletter
A DIY Kitchen Island: Step by Step Guide


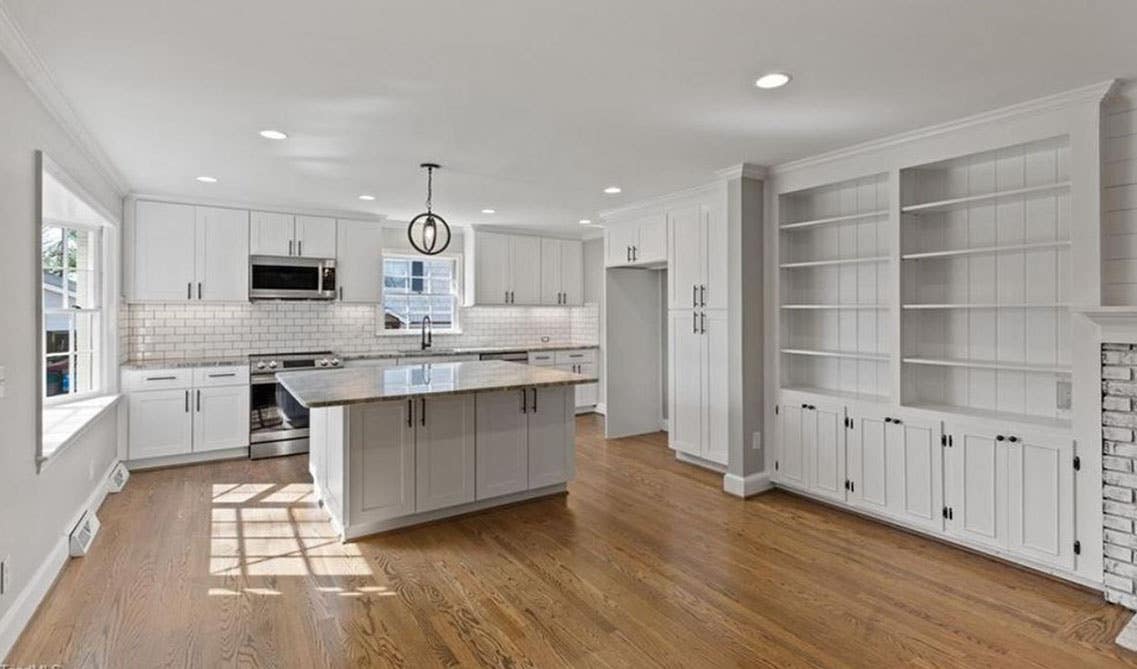
A kitchen island is a versatile and functional addition to any kitchen, providing extra workspace, storage, and a focal point for your culinary adventures. Building a kitchen island using base cabinets is a cost-effective and straightforward DIY project that can enhance both the aesthetics and functionality of your kitchen. In this step-by-step guide, we'll walk you through the process of creating a DIY kitchen island, allowing you to customize it to suit your specific needs and style.
Materials You Will Need
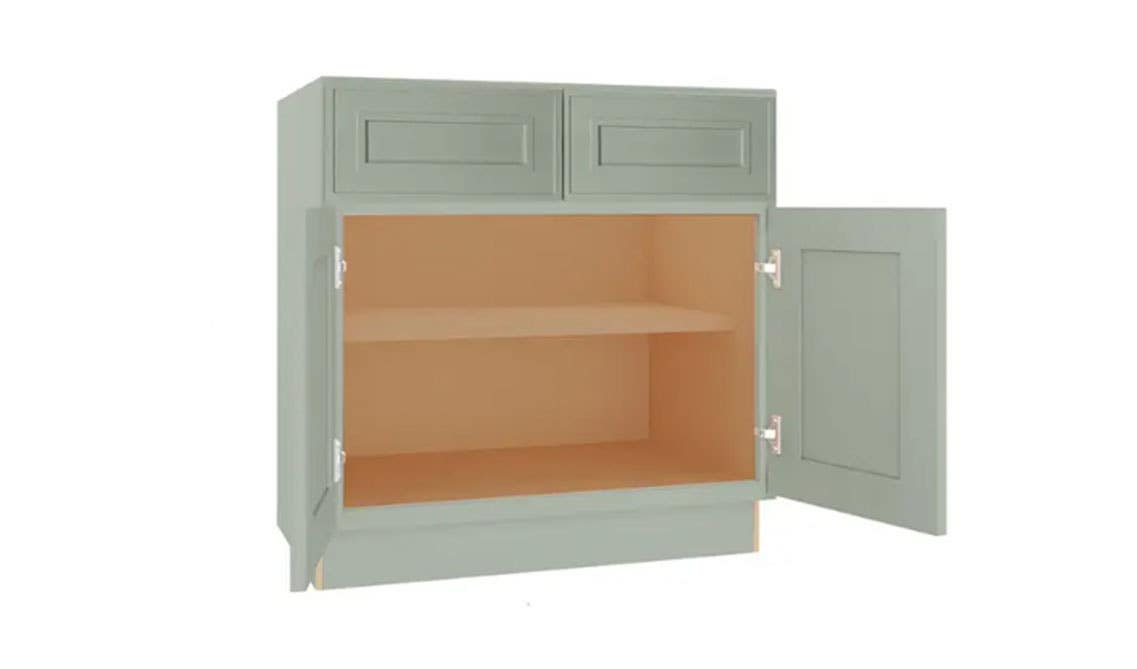
- Lily Ann Cabinets base cabinets (2 or more, depending on the size of the island)
- Plywood or MDF board (for the countertop)
- Screws
- Screwdriver or drill
- Leveler
- Measuring tape
- Wood filler
- Cabinet hardware (handles or knobs)
Step 1: Measure and Plan

Start this project by measuring the available space in your kitchen where you want to place the island. Consider the size and layout of your base cabinets. Determine the dimensions for your island, and take into account any additional features such as overhangs for seating or extra storage. Identify potential spots where an island could fit without disrupting the flow of your kitchen. Sketch out a rough plan to visualize how the island will fit into your kitchen.
Step 2: Determine Kitchen Island Placement And Size
After considering the overall layout of your island, make sure you include the placement of appliances, and countertop. Aim for at least 36 inches (91 cm) of clearance on all sides. If you plan to incorporate seating at the island, allocate enough space for stools or chairs, overhangs of 12-15 inches (30-38 cm) are common for comfortable seating. If you're including a sink, dishwasher, or stovetop in the island, ensure access to plumbing and electrical lines.
Step 3: Assemble Base Cabinets
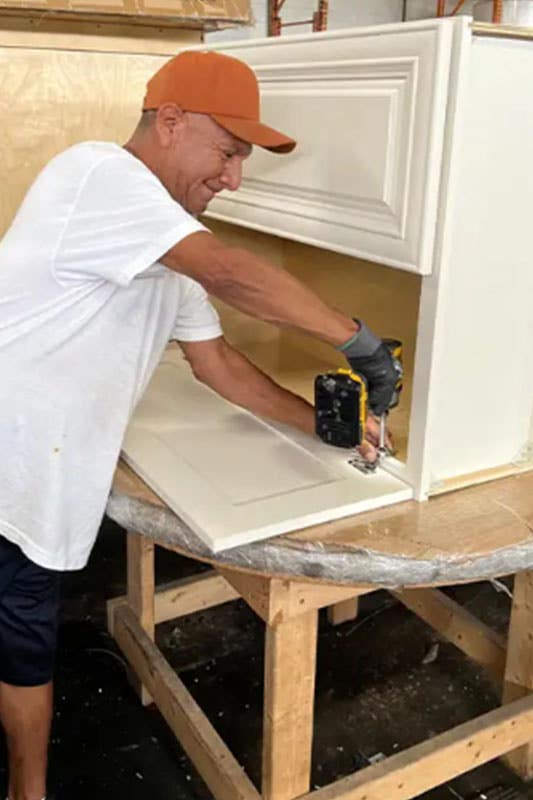
Prepare your workspace and clear a clean, spacious area where you can lay out and assemble the cabinet components. Lay down a protective covering, like a blanket or cardboard, to prevent scratching the cabinet panels. Familiarize yourself with the pieces and their labels before you begin assembly. Start by assembling the main Lily Ann base cabinets.
These RTA cabinets are easy to install and involve attaching the sides, back, and bottom panels. Once you're finished If your cabinet has shelves or drawers, install the corresponding hardware and glide according to the instructions. If your base cabinet has doors, attach the door hinges to the cabinet box according to the instructions.
If you need help, we offer multiple resources to help guide you! We have endless assembly videos and the built app to help guide you. If this doesn't help, our new Lily Ann Live feature allows you to talk with a professional. With these virtual calls, it can make assembling your cabinets a breeze!
Step 4: Attach The Base Cabinets Together
If available, use cabinet clamps to hold the cabinets together while you attach them. This can help ensure a tight fit and prevent shifting during the attachment process. Place the base cabinets in their designated position, ensuring they fit snugly together. Use screws to secure the cabinets to one another at the front and back, creating a sturdy base. After joining pieces of wood together, such as when creating a miter joint or a butt joint, wood filler can help create a seamless transition between the two pieces, masking the joint line.
Step 5: Put The Countertop In Place

Lay the chosen countertop material (e.g., quartz, granite, laminate) on top of the support board. Ensure it overhangs slightly at the front and sides for a polished look. Depending on the design and materials used for the island, you can explore other methods of securing it, such as using construction adhesive, brackets, or bolts. If you're uncertain about how to secure the kitchen island properly, or if you're dealing with a complex design, it's advisable to consult a professional contractor or carpenter for guidance and assistance. Once the island is secured, carefully test its stability by applying gentle pressure and ensuring there is no wobbling or movement.
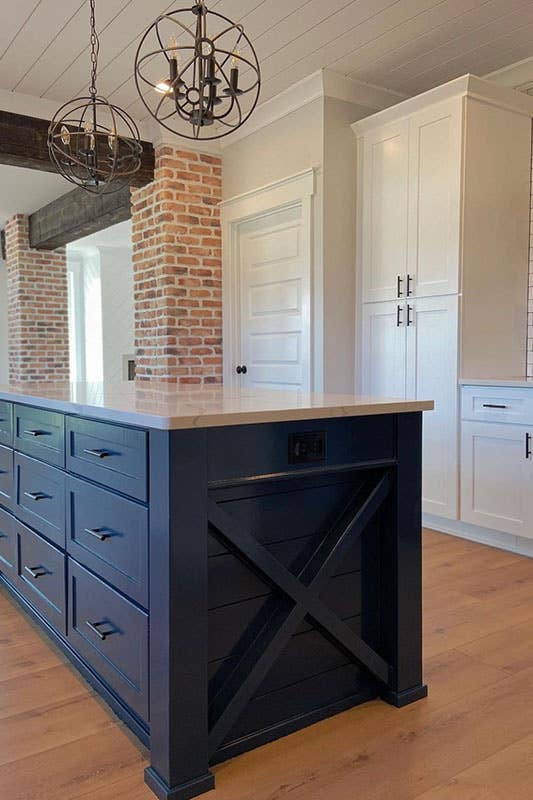
Step 6: Add Hardware
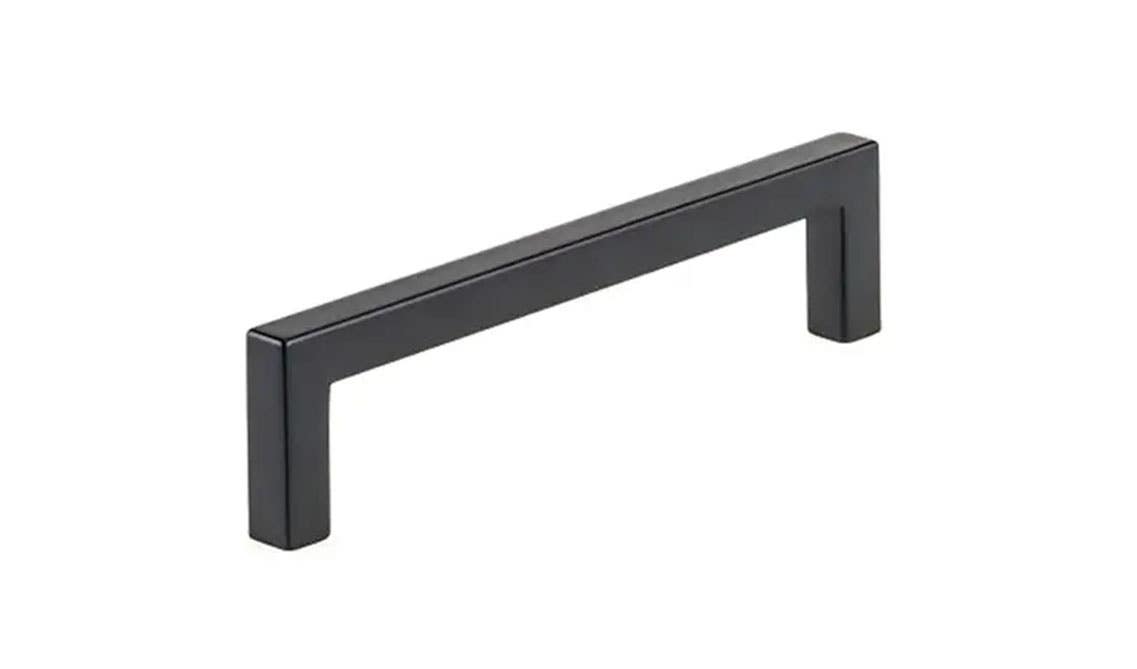
To complete the look of your kitchen island, attach handles or knobs to the cabinet doors and drawers. Choose hardware that complements your kitchen's style and enhances the overall appearance of the island.
Building a kitchen island out of base cabinets can be a rewarding and budget-friendly DIY project that transforms your kitchen's functionality and aesthetics. By following this step-by-step guide and adding your creative touches, you'll have a beautiful and practical kitchen island that you can enjoy for years to come. Happy building!
Shop Related Cabinet Lines
Recent Blogs

Kitchen Decor
What Your Wife Really Wants for Mothers Day

Kitchen Cabinets,Wood Cabinets,Cabinet Tips,Cab...
Laminate vs. Wood Cabinets: Choosing the Best Material for Your Needs


25+ Ways To Style Grey Kitchen Cabinets August 1, 2019
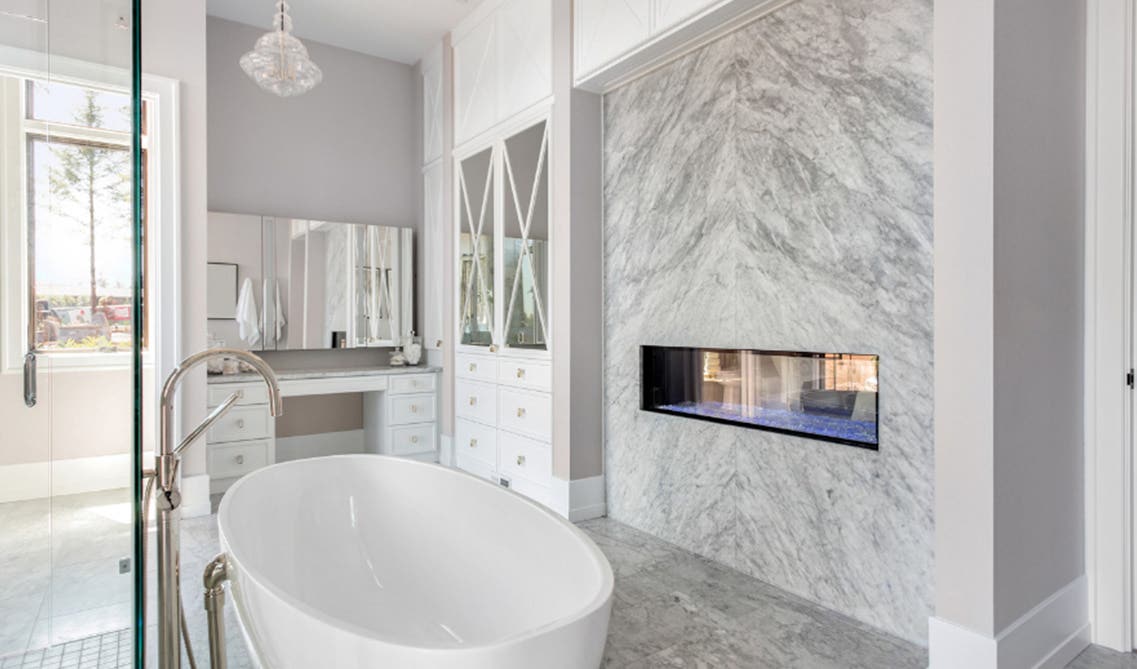
18 Unique Modern Bathroom Ideas | Cabinets, Vanities + More October 22, 2019
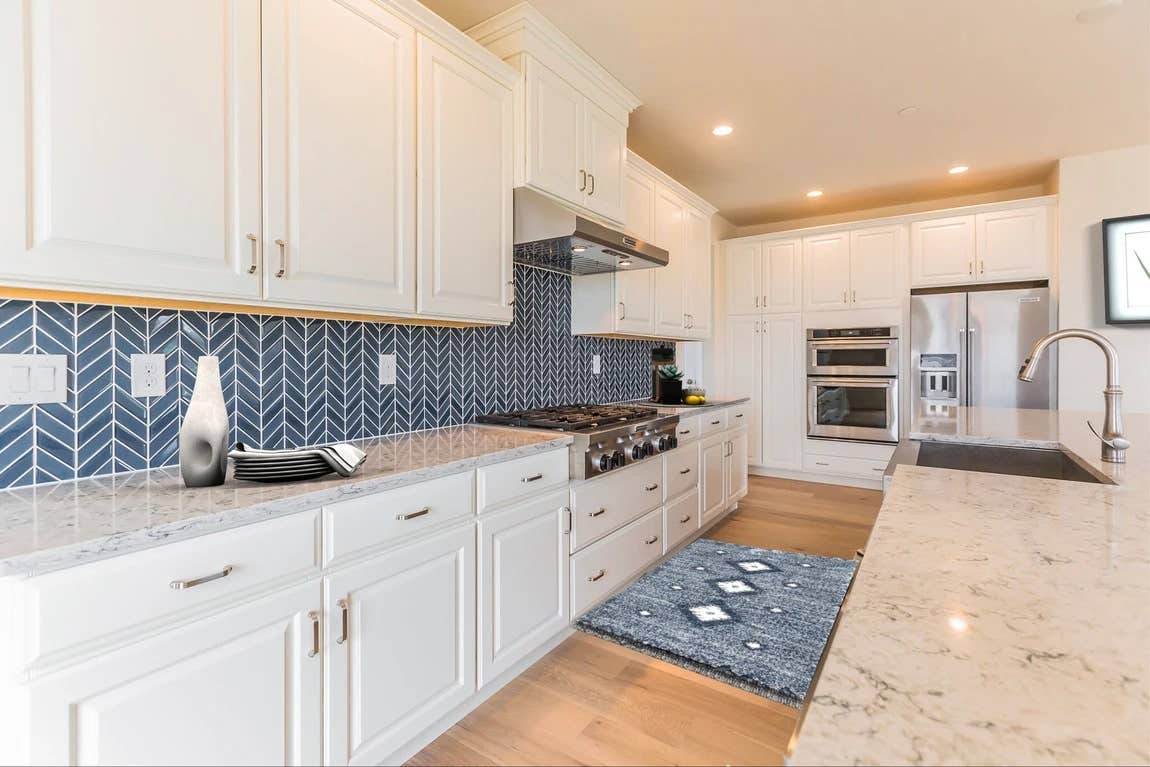
11 Fresh Kitchen Backsplash Ideas for White Cabinets March 5, 2020
What Your Wife Really Wants for Mothers Day April 25, 2024
Why You Should Embrace a Solid Slab Backsplash April 4, 2024


Comments