


subscribe to our Newsletter
How to Install Kitchen Cabinet Lighting


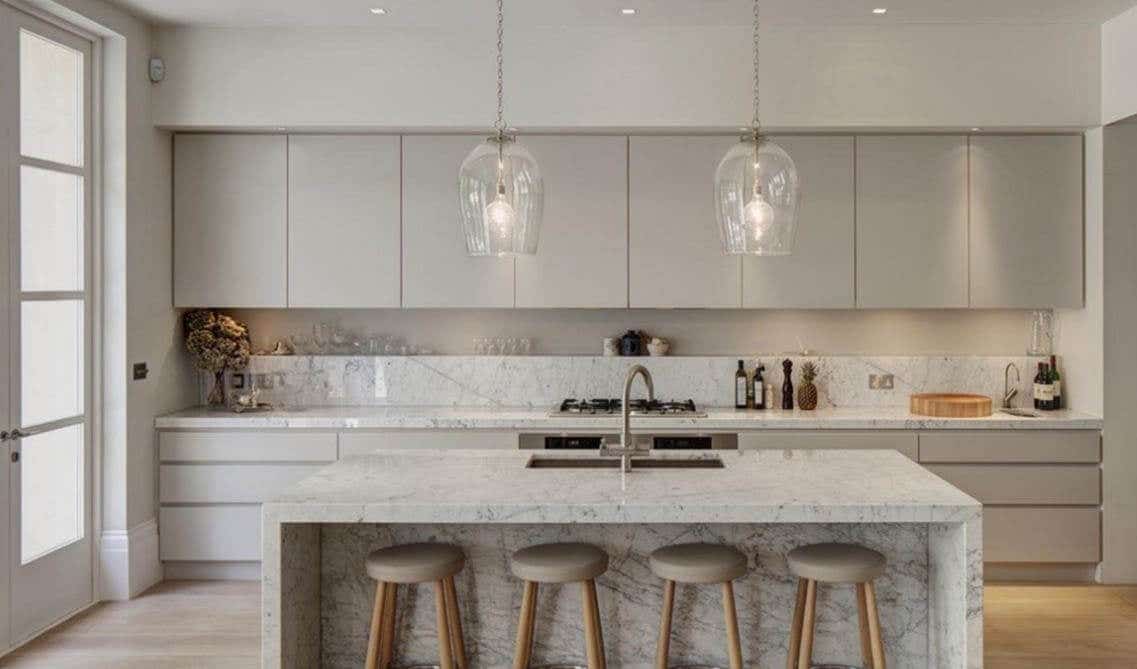
Under cabinet lighting can make a big difference in your kitchen. It adds a modern touch and provides bright task lighting for food preparation and other tasks. Installing under cabinet lights is a relatively simple DIY project that can be completed in a few hours. With the right materials and knowledge, you can easily add under cabinet lighting to your kitchen and enjoy a more stylish and functional space. In this blog post, we will provide step-by-step instructions on how to install kitchen under cabinet lighting.
| Skill Level | Price | Time |
| Easy | Around $250 | 1-2 Days |
What You'll Need
Installing kitchen cabinet lighting is an easy, budget-friendly way to improve the look of your kitchen. To get started, you'll need the following supplies:
Cabinet with lights |
Low Voltage Wiring |
LED Light Strips |
Wireless Dimmer Switch |
Under Cabinet Lights |
Power Supply |
Adhesive Mounting Tape |
Drill |
Clamps/Scissors |
Electrical Tape |
Step One: Preparing the Cabinets
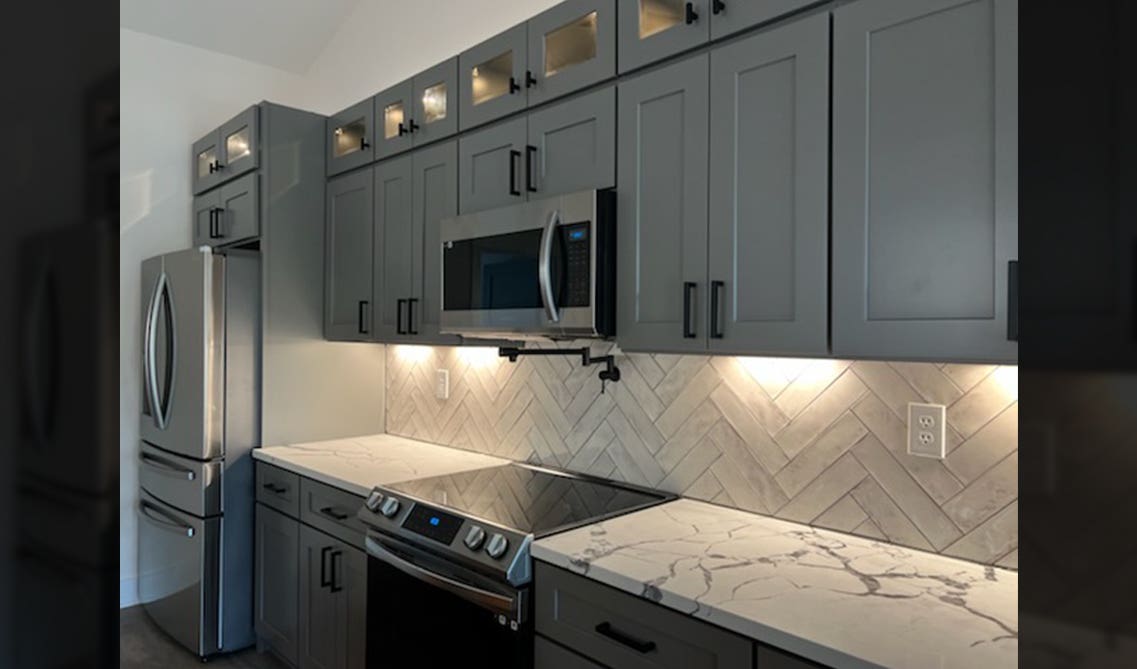
Before you begin installing kitchen under cabinet lighting, it's important to properly prepare the cabinets. First, you will need to make sure that your cabinets are deep enough to accommodate lights. Measure the depth of your cabinets and ensure they are at least four inches deep. You may need to add additional spacers or hardware if the cabinets are too shallow. Next, you'll need to mark off where you plan to install the cabinet with lights. Using a pencil or marker, draw an outline around the perimeter of where you want the lights. This will help you know exactly where to put the hardware when you are ready to install the lights. Finally, you'll need to drill pilot holes into the cabinet before attaching the hardware for your kitchen cabinet with lights. Make sure that you drill the holes in the correct position and don't forget to wear safety glasses when drilling. This step is crucial to ensuring that your lights are securely fastened in place and do not become loose over time.
Also Read: How to Install Outdoor Lighting
Step Two: Installing the Lights
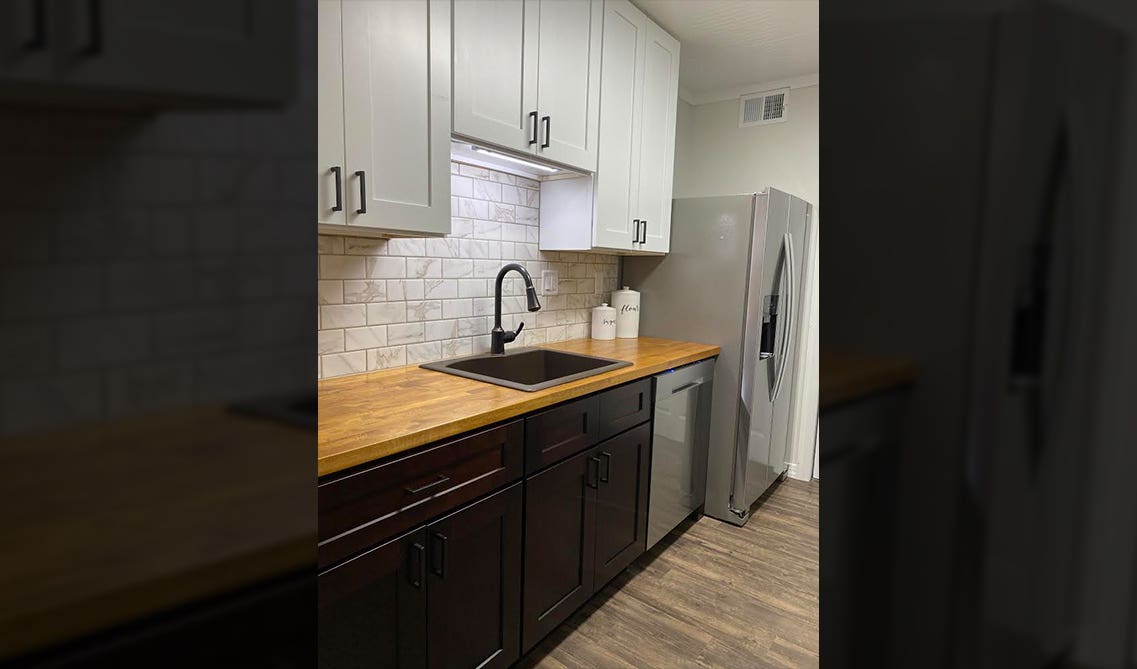
Installing your under cabinet lighting or display cabinet lighting is the next step in the process. Depending on the type of lighting you chose, you may need to drill holes in the cabinet or mount it directly. If you are unsure of where to get your cabinet lighting from, Lily Ann Cabinets offers an affordable and long lasting option of cabinet lighting. Start by measuring the distance between where you want to install the lights and marking the spots. If you’re using screws to secure the lighting, pre-drill small holes at each spot. Once you have done this, attach the fixtures with screws or adhesive depending on your product. Once you’ve secured all of the lights, you can connect the power source. For plug-in models, make sure they are plugged into an outlet. For hardwired models, make sure they are wired correctly and that all connections are secure. Finally, test out your new lighting setup to make sure everything is working properly.
Also Read: The Best Outdoor Lighting For Your Space
Step Three: Connecting the Wires
In step three of installing kitchen cabinet lighting, you'll need to connect the wires to the cabinet with lights. Begin by connecting the black wire from the light fixture to the black wire from the power source. Next, connect the white wire from the light fixture to the white wire from the power source. Finally, connect the green ground wire from the light fixture to the copper ground wire from the power source. Once you have all your wires securely connected, you're ready for the next step in installing your kitchen cabinet lighting.
Step Four: Finishing Up
Once you have installed your display cabinet lighting, it’s time to finish up! To ensure your installation is successful and your cabinet lighting looks great, there are a few important steps you should follow. First, make sure all connections are secure. Check the wiring and connections of each light fixture, as well as the junction box, to ensure that everything is properly connected. Next, turn the circuit breaker back on and test your lighting. Make sure the lights turn on and off when desired. If everything works, your installation is complete! Finally, clean up any debris left from installation. Wipe away any dust or dirt that may have accumulated during the installation process. You may also want to consider adding a switch or dimmer to control the brightness of your display cabinet lighting. With these easy steps, you can easily learn how to install kitchen under cabinet lighting in no time. Enjoy the beautiful and functional addition to your kitchen cabinets!
Also Read: How to Choose the Best Kitchen Lighting
Here is a video, step-by-step instructions, on how to install your cabinet lighting!
FAQ
1. What kind of lights do you put under kitchen cabinets?
Usually lights placed under kitchen cabinets are LED because they have a long life span.
2. How do you hide under cabinet lighting wires?
You can use tape to string them along so it doesn’t hang down.
Shop Related Cabinet Lines
Recent Blogs

Kitchen Cabinets,Wood Cabinets,Cabinet Tips,Cab...
Laminate vs. Wood Cabinets: Choosing the Best Material for Your Needs

Bathroom Cabinets,Bathroom Design,Bathroom Remodel
Single Sink Bathroom Vanity: Space-Saving Solutions for Your Bathroom


25+ Ways To Style Grey Kitchen Cabinets August 1, 2019
18 Unique Modern Bathroom Ideas | Cabinets, Vanities + More October 22, 2019
11 Fresh Kitchen Backsplash Ideas for White Cabinets March 5, 2020


Comments